

Question: 12. Lab 3 - My Kit EECS 1012: Lab 3 - My Kit S/EECS%201012/lab%20works/lab03/Labo3.pdf Labo3.pdf x + + Fit to page Page view Similar to
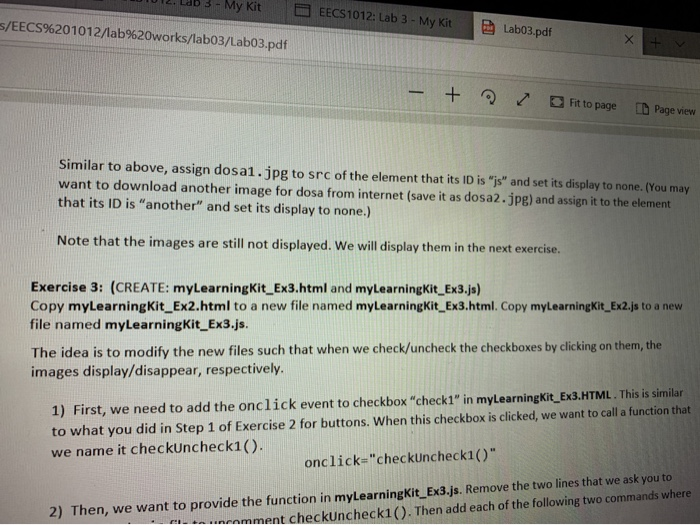
12. Lab 3 - My Kit EECS 1012: Lab 3 - My Kit S/EECS%201012/lab%20works/lab03/Labo3.pdf Labo3.pdf x + + Fit to page Page view Similar to above, assign dosa1.jpg to src of the element that its ID is "js" and set its display to none. (You may want to download another image for dosa from internet (save it as dosa2.jpg) and assign it to the element that its ID is "another" and set its display to none.) Note that the images are still not displayed. We will display them in the next exercise. Exercise 3: (CREATE: myLearning Kit_Ex3.html and myLearningKit_Ex3.js) Copy myLearning Kit_Ex2.html to a new file named myLearningKit_Ex3.html. Copy myLearningKit_Ex2.js to a new file named myLearning Kit_Ex3.js. The idea is to modify the new files such that when we check/uncheck the checkboxes by clicking on them, the images display/disappear, respectively. 1) First, we need to add the onclick event to checkbox "check1" in myLearningKit_Ex3.HTML. This is similar to what you did in Step 1 of Exercise 2 for buttons. When this checkbox is clicked, we want to call a function that we name it checkuncheck1(). onclick="checkuncheck1()" 2) Then, we want to provide the function in myLearningKit_Ex3.js. Remove the two lines that we ask you to incomment checkuncheck1(). Then add each of the following two commands where
Step by Step Solution
There are 3 Steps involved in it

Get step-by-step solutions from verified subject matter experts