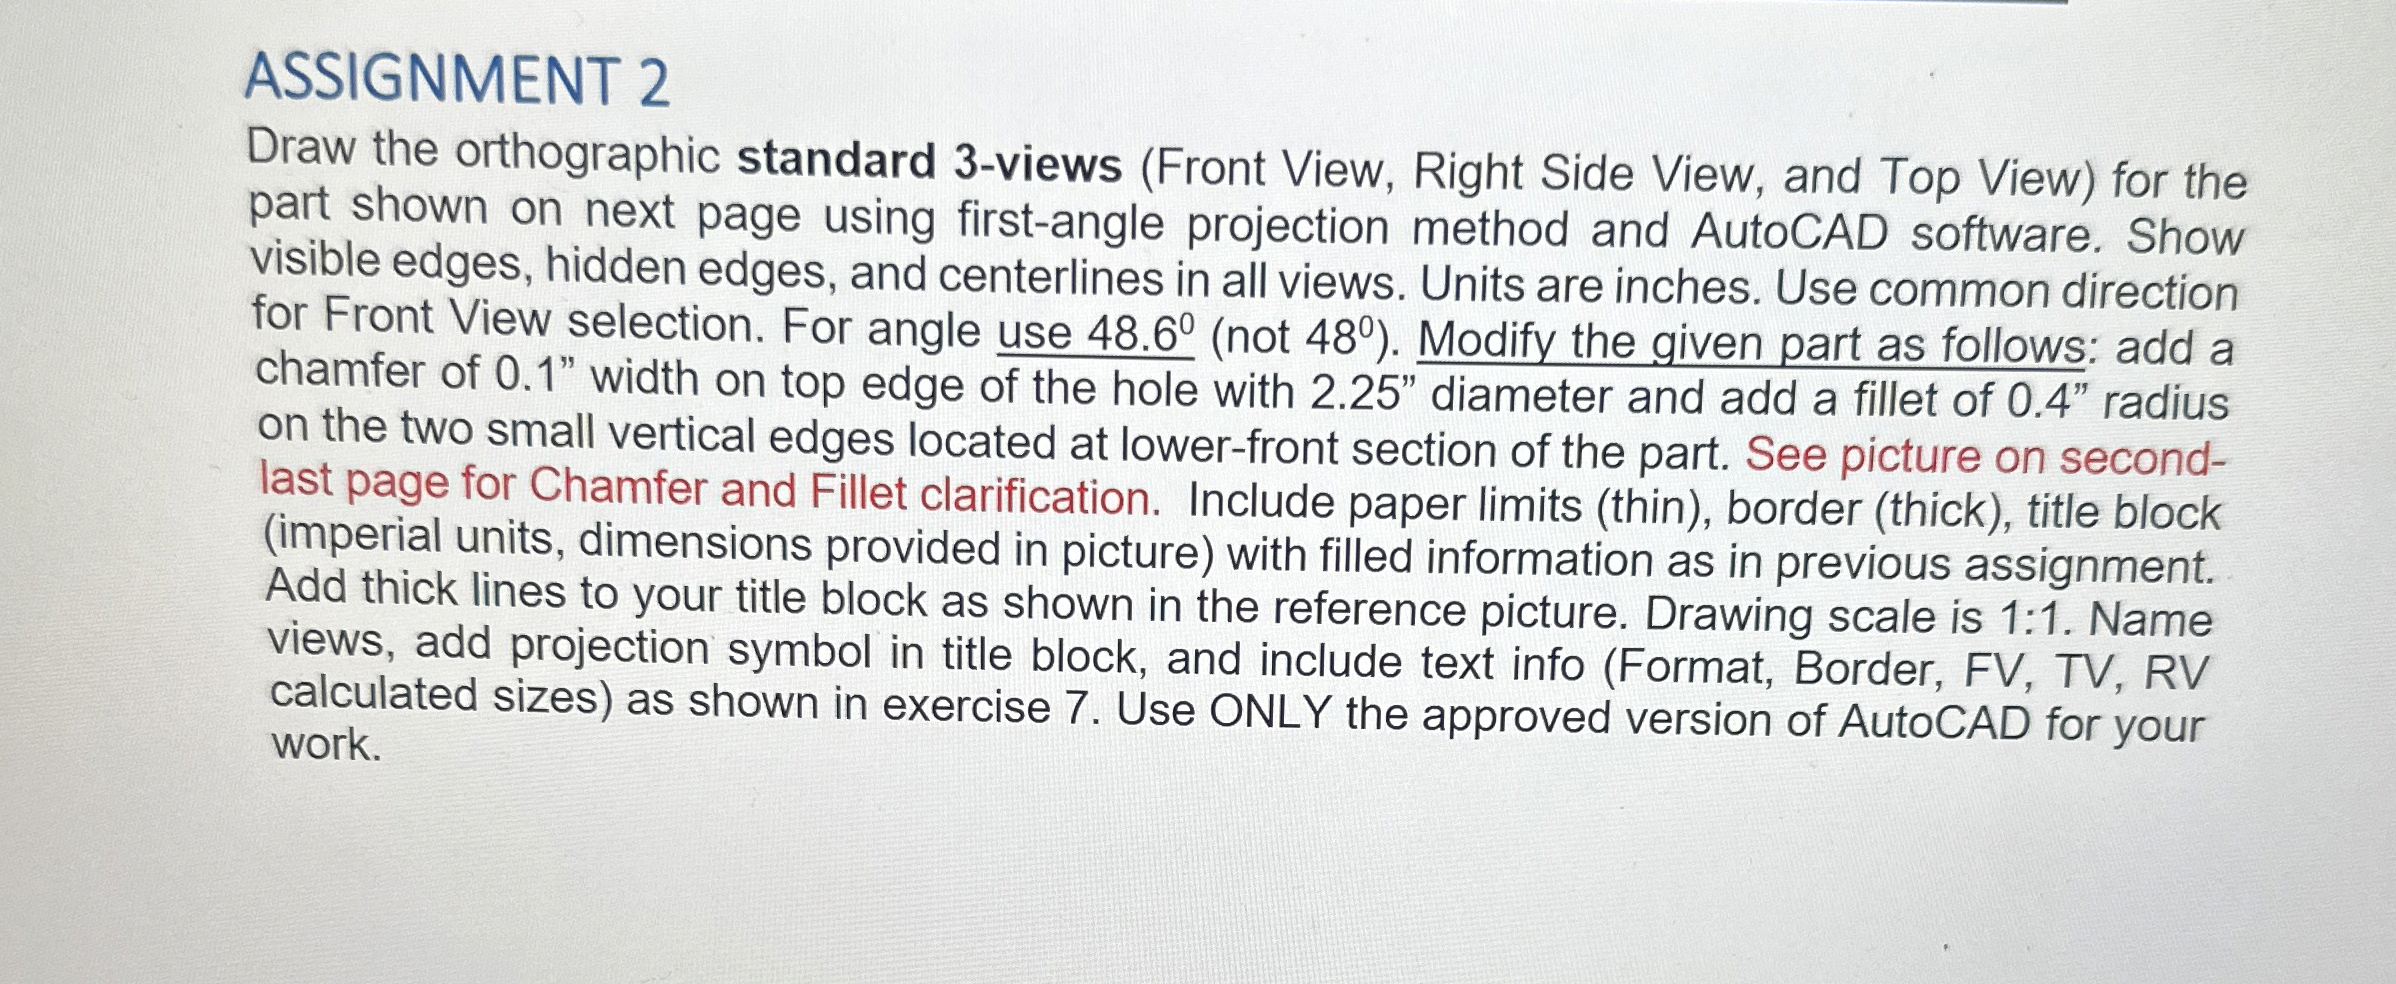
Question: ASSIGNMENT 2 Draw the orthographic standard 3 - views ( Front View, Right Side View, and Top View ) for the part shown on next
ASSIGNMENT
Draw the orthographic standard views Front View, Right Side View, and Top View for the
part shown on next page using firstangle projection method and AutoCAD software. Show
visible edges, hidden edges, and centerlines in all views. Units are inches. Use common direction
for Front View selection. For angle use not Modify the given part as follows: add a
chamfer of width on top edge of the hole with diameter and add a fillet of radius
on the two small vertical edges located at lowerfront section of the part. See picture on second
last page for Chamfer and Fillet clarification. Include paper limits thin border thick title block
imperial units, dimensions provided in picture with filled information as in previous assignment.
Add thick lines to your title block as shown in the reference picture. Drawing scale is : Name
views, add projection symbol in title block, and include text info Format Border, FV TV RV
calculated sizes as shown in exercise Use ONLY the approved version of AutoCAD for your
work.
Part: Cylinder Support
ASSIGNMENT
Draw the orthographic standard views Front View, Right Side View, and Top View for the
part shown on next page using firstangle projection method and AutoCAD software. Show
visible edges, hidden edges, and centerlines in all views. Units are inches. Use common direction
for Front View selection. For angle use not Modify the given part as follows: add a
chamfer of width on top edge of the hole with diameter and add a fillet of radius
on the two small vertical edges located at lowerfront section of the part. See picture on second
last page for Chamfer and Fillet clarification. Include paper limits thin border thick title block
imperial units, dimensions provided in picture with filled information as in previous assignment.
Add thick lines to your title block as shown in the reference picture. Drawing scale is : Name
views, add projection symbol in title block, and include text info Format Border, FV TV RV
calculated sizes as shown in exercise Use ONLY the approved version of AutoCAD for your
work.

Step by Step Solution
There are 3 Steps involved in it
1 Expert Approved Answer
Step: 1 Unlock


Question Has Been Solved by an Expert!
Get step-by-step solutions from verified subject matter experts
Step: 2 Unlock
Step: 3 Unlock


