Question: Creating pretend links is our next step - they need to be placed on the left of the timer as shown in the screen shot
Creating pretend links is our next step - they

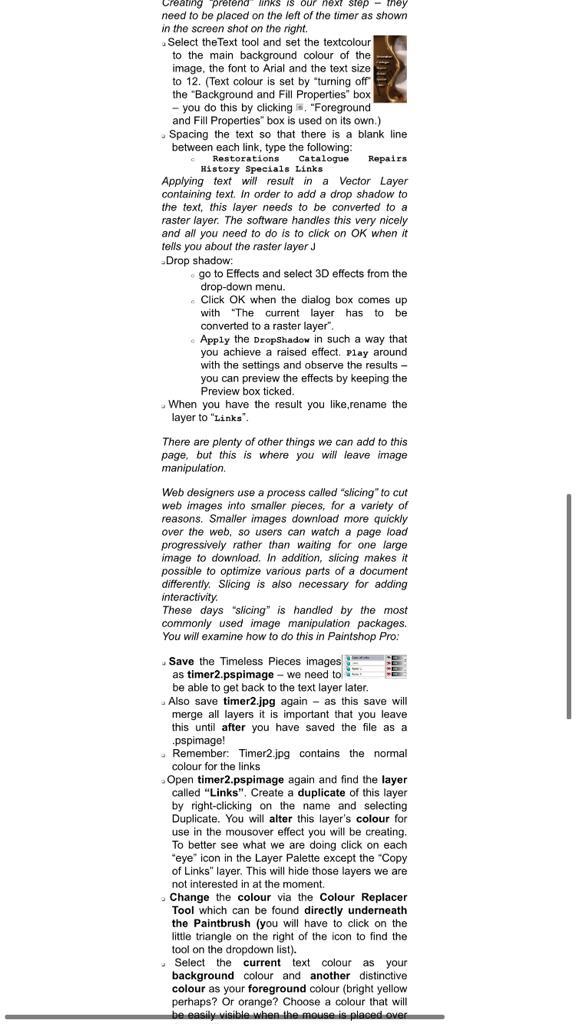
Creating pretend links is our next step - they need to be placed on the left of the timer as shown in the screen shot on the right. Select the Text tool and set the textcolour. to the main background colour of the image, the font to Arial and the text size to 12. (Text colour is set by "turning off the "Background and Fill Properties" box - you do this by clicking, "Foreground and Fill Properties" box is used on its own.) Spacing the text so that there is a blank line between each link, type the following: Restorations Catalogue Repairs History Specials Links Applying text will result in a Vector Layer containing text. In order to add a drop shadow to the text, this layer needs to be converted to a raster layer. The software handles this very nicely and all you need to do is to click on OK when it tells you about the raster layer J Drop shadow: go to Effects and select 3D effects from the drop-down menu. Click OK when the dialog box comes up with "The current layer has to be converted to a raster layer". Apply the DropShadow in such a way that you achieve a raised effect. Play around with the settings and observe the results - you can preview the effects by keeping the Preview box ticked. When you have the result you like,rename the layer to "Links". There are plenty of other things we can add to this page, but this is where you will leave image manipulation. Web designers use a process called "slicing" to cut web images into smaller pieces, for a variety of reasons. Smaller images download more quickly over the web, so users can watch a page load progressively rather than waiting for one large image to download. In addition, slicing makes it possible to optimize various parts of a document differently. Slicing is also necessary for adding interactivity. These days "slicing" is handled by the most commonly used image manipulation packages. You will examine how to do this in Paintshop Pro: Save the Timeless Pieces images as timer2.pspimage - we need to be able to get back to the text layer later. Also save timer2.jpg again as this save will merge all layers it is important that you leave this until after you have saved the file as a .pspimage! Remember: Timer2.jpg contains the normal colour for the links Open timer2.pspimage again and find the layer called "Links". Create a duplicate of this layer by right-clicking on the name and selecting Duplicate. You will alter this layer's colour for use in the mousover effect you will be creating. To better see what we are doing click on each "eye" icon in the Layer Palette except the "Copy of Links" layer. This will hide those layers we are not interested in at the moment. Change the colour via the Colour Replacer Tool which can be found directly underneath the Paintbrush (you will have to click on the little triangle on the right of the icon to find the tool on the dropdown list). Select the current text colour as your background colour and another distinctive colour as your foreground colour (bright yellow perhaps? Or orange? Choose a colour that will be easily visible when the mouse is placed over

Step by Step Solution

There are 3 Steps involved in it

1 Expert Approved Answer
Step: 1 Unlock blur-text-image
Question Has Been Solved by an Expert!

Get step-by-step solutions from verified subject matter experts

Step: 2 Unlock
Step: 3 Unlock

Students Have Also Explored These Related General Management Questions!