Question: Description This week you will write a web application that will receive incoming POST and GET requests. You will write a single server to handle
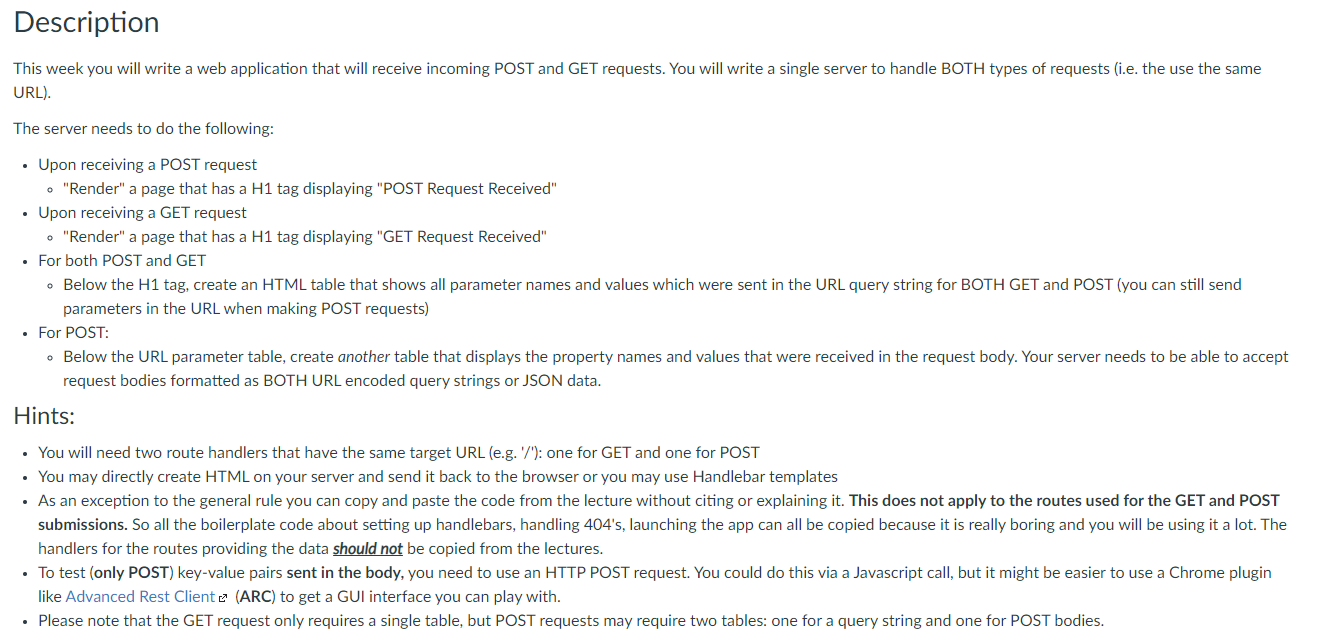
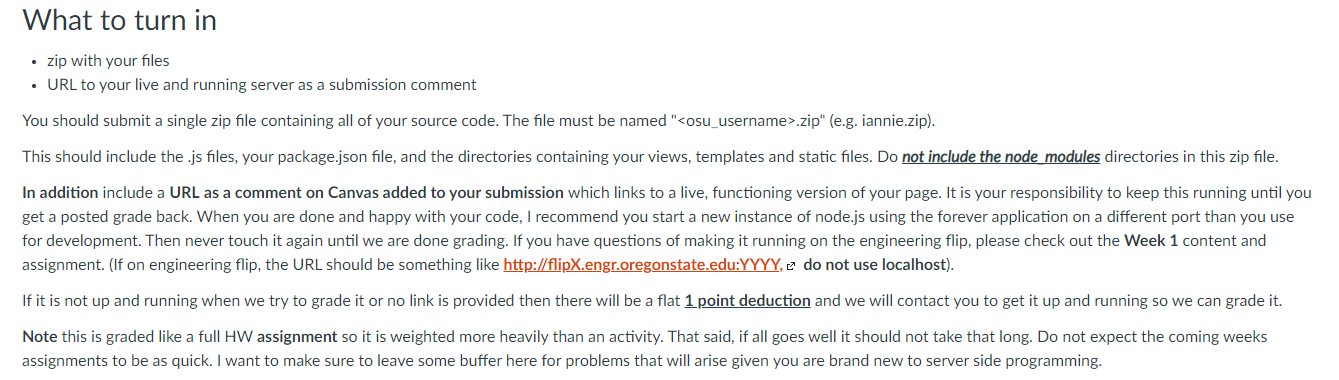
Description This week you will write a web application that will receive incoming POST and GET requests. You will write a single server to handle BOTH types of requests (i.e. the use the same URL). The server needs to do the following: Upon receiving a POST request "Render" a page that has a H1 tag displaying "POST Request Received" Upon receiving a GET request "Render" a page that has a H1 tag displaying "GET Request Received" For both POST and GET - Below the H1 tag, create an HTML table that shows all parameter names and values which were sent in the URL query string for BOTH GET and POST (you can still send parameters in the URL when making POST requests) For POST: Below the URL parameter table, create another table that displays the property names and values that were received in the request body. Your server needs to be able to accept request bodies formatted as BOTH URL encoded query strings or JSON data. Hints: You will need two route handlers that have the same target URL (e.g./'): one for GET and one for POST . You may directly create HTML on your server and send it back to the browser or you may use Handlebar templates As an exception to the general rule you can copy and paste the code from the lecture without citing or explaining it. This does not apply to the routes used for the GET and POST submissions. So all the boilerplate code about setting up handlebars, handling 404's, launching the app can all be copied because it is really boring and you will be using it a lot. The handlers for the routes providing the data should not be copied from the lectures. To test (only POST) key-value pairs sent in the body, you need to use an HTTP POST request. You could do this via a Javascript call, but it might be easier to use a Chrome plugin like Advanced Rest Cliente (ARC) to get a GUI interface you can play with. Please note that the GET request only requires a single table, but POST requests may require two tables: one for a query string and one for POST bodies. What to turn in zip with your files URL to your live and running server as a submission comment You should submit a single zip file containing all of your source code. The file must be named ".zip" (e.g. iannie.zip). This should include the.js files, your package.json file, and the directories containing your views, templates and static files. Do not include the node modules directories in this zip file. In addition include a URL as a comment on Canvas added to your submission which links to a live, functioning version of your page. It is your responsibility to keep this running until you get a posted grade back. When you are done and happy with your code, I recommend you start a new instance of node.js using the forever application on a different port than you use for development. Then never touch it again until we are done grading. If you have questions of making it running on the engineering flip, please check out the Week 1 content and assignment. (If on engineering flip, the URL should be something like http://flipX.engr.oregonstate.edu:YYYY, C do not use localhost). If it is not up and running when we try to grade it or no link is provided then there will be a flat 1 point deduction and we will contact you to get it up and running so we can grade it. Note this is graded like a full HW assignment so it is weighted more heavily than an activity. That said, if all goes well it should not take that long. Do not expect the coming weeks assignments to be as quick. I want to make sure to leave some buffer here for problems that will arise given you are brand new to server side programming. Description This week you will write a web application that will receive incoming POST and GET requests. You will write a single server to handle BOTH types of requests (i.e. the use the same URL). The server needs to do the following: Upon receiving a POST request "Render" a page that has a H1 tag displaying "POST Request Received" Upon receiving a GET request "Render" a page that has a H1 tag displaying "GET Request Received" For both POST and GET - Below the H1 tag, create an HTML table that shows all parameter names and values which were sent in the URL query string for BOTH GET and POST (you can still send parameters in the URL when making POST requests) For POST: Below the URL parameter table, create another table that displays the property names and values that were received in the request body. Your server needs to be able to accept request bodies formatted as BOTH URL encoded query strings or JSON data. Hints: You will need two route handlers that have the same target URL (e.g./'): one for GET and one for POST . You may directly create HTML on your server and send it back to the browser or you may use Handlebar templates As an exception to the general rule you can copy and paste the code from the lecture without citing or explaining it. This does not apply to the routes used for the GET and POST submissions. So all the boilerplate code about setting up handlebars, handling 404's, launching the app can all be copied because it is really boring and you will be using it a lot. The handlers for the routes providing the data should not be copied from the lectures. To test (only POST) key-value pairs sent in the body, you need to use an HTTP POST request. You could do this via a Javascript call, but it might be easier to use a Chrome plugin like Advanced Rest Cliente (ARC) to get a GUI interface you can play with. Please note that the GET request only requires a single table, but POST requests may require two tables: one for a query string and one for POST bodies. What to turn in zip with your files URL to your live and running server as a submission comment You should submit a single zip file containing all of your source code. The file must be named ".zip" (e.g. iannie.zip). This should include the.js files, your package.json file, and the directories containing your views, templates and static files. Do not include the node modules directories in this zip file. In addition include a URL as a comment on Canvas added to your submission which links to a live, functioning version of your page. It is your responsibility to keep this running until you get a posted grade back. When you are done and happy with your code, I recommend you start a new instance of node.js using the forever application on a different port than you use for development. Then never touch it again until we are done grading. If you have questions of making it running on the engineering flip, please check out the Week 1 content and assignment. (If on engineering flip, the URL should be something like http://flipX.engr.oregonstate.edu:YYYY, C do not use localhost). If it is not up and running when we try to grade it or no link is provided then there will be a flat 1 point deduction and we will contact you to get it up and running so we can grade it. Note this is graded like a full HW assignment so it is weighted more heavily than an activity. That said, if all goes well it should not take that long. Do not expect the coming weeks assignments to be as quick. I want to make sure to leave some buffer here for problems that will arise given you are brand new to server side programming


