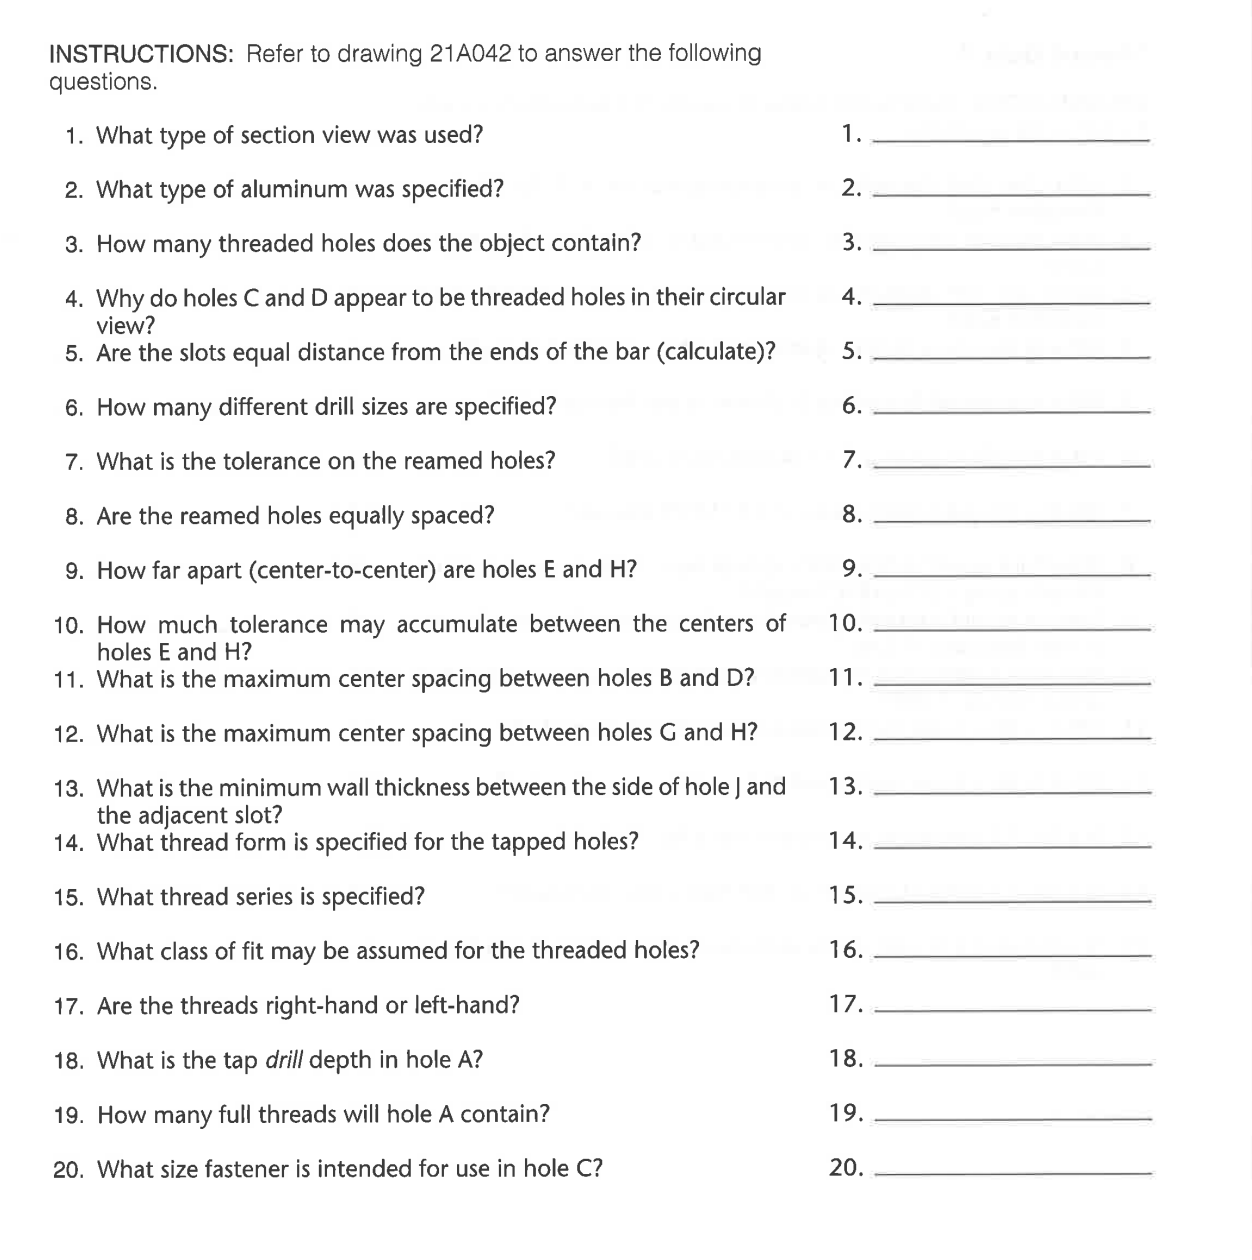
Question: INSTRUCTIONS: Refer to drawing 2 1 A 0 4 2 to answer the following questions. 1 . What type of section view was used? 1
INSTRUCTIONS: Refer to drawing A to answer the following questions.
What type of section view was used?
What type of aluminum was specified?
How many threaded holes does the object contain?
Why do holes C and D appear to be threaded holes in their circular view?
Are the slots equal distance from the ends of the bar calculate
How many different drill sizes are specified?
What is the tolerance on the reamed holes?
Are the reamed holes equally spaced?
How far apart centertocenter are holes E and H
How much tolerance may accumulate between the centers of holes E and H
What is the maximum center spacing between holes B and D
What is the maximum center spacing between holes G and H
What is the minimum wall thickness between the side of hole J and the adjacent slot?
What thread form is specified for the tapped holes?
What thread series is specified?
What class of fit may be assumed for the threaded holes?
Are the threads righthand or lefthand?
What is the tap drill depth in hole A
How many full threads will hole A contain?
What size fastener is intended for use in hole C

Step by Step Solution
There are 3 Steps involved in it
1 Expert Approved Answer
Step: 1 Unlock


Question Has Been Solved by an Expert!
Get step-by-step solutions from verified subject matter experts
Step: 2 Unlock
Step: 3 Unlock


