Question: Introductory to Physics: LAB 3 Instructions: Compllete this entire assignment efficiently, make sure each of your answers are 100% correct but also well-explained and clear.
Introductory to Physics: LAB 3
Instructions:
Compllete this entire assignment efficiently, make sure each of your answers are 100% correct but also well-explained and clear. You have to do the work on a google doc then upload your document on course hero.
You are required to compllete all the assigned questions on the lab report by following the provided instructions:
Any unanswered questions will count against your lab score.
Your lab will be graded according to proper use of physical theories. This means that often the hard numbers of the lab will not necessarily be graded but whether or not you followed the guidelines and achieved a result in a physically meaningful way.
Include any open questions you have regarding what you think should be answered using appropriate physics terminology and applied theories.
BIGGEST RULE!!!! I WILL NOT RATE YOUR WORK IF IT'S ANY FORM OF Al GENERATED SO MAKE SURE YOUR ANSWERS ARE ORIGINAL.
IMPORTANT NOTE:IF EACH QUESTION OF THE LAB IS NOT 100% CORRECT, AND WELL ANSWERED (WITH SMART-DEVELOPED ANSWERS, NOT Al GENERATED) AND FOLLOWS THE INSTRUCTIONS I WILL NOT BE RATING YOUR WORK.
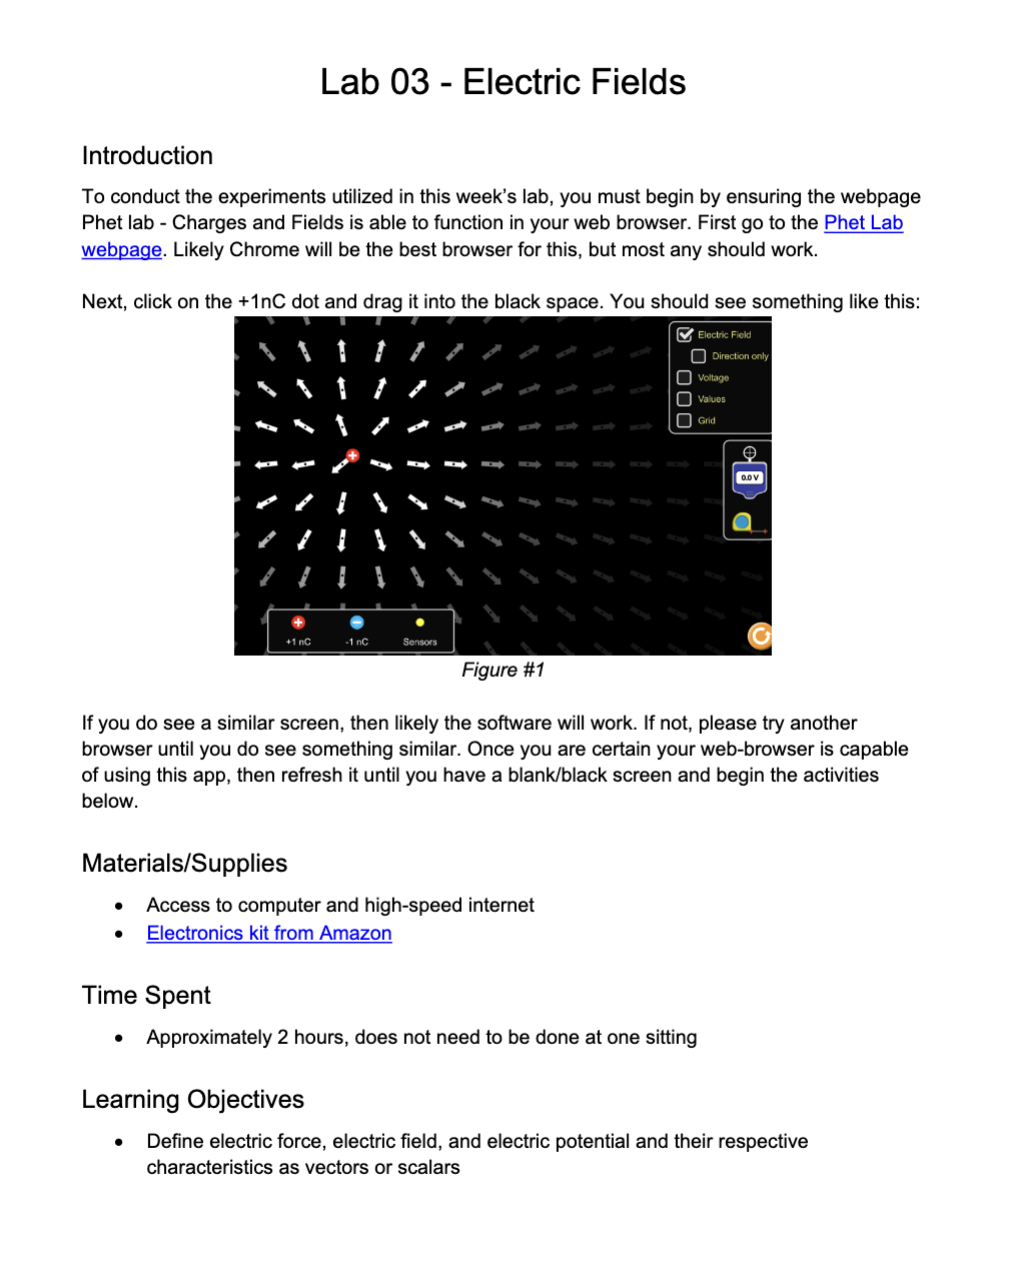
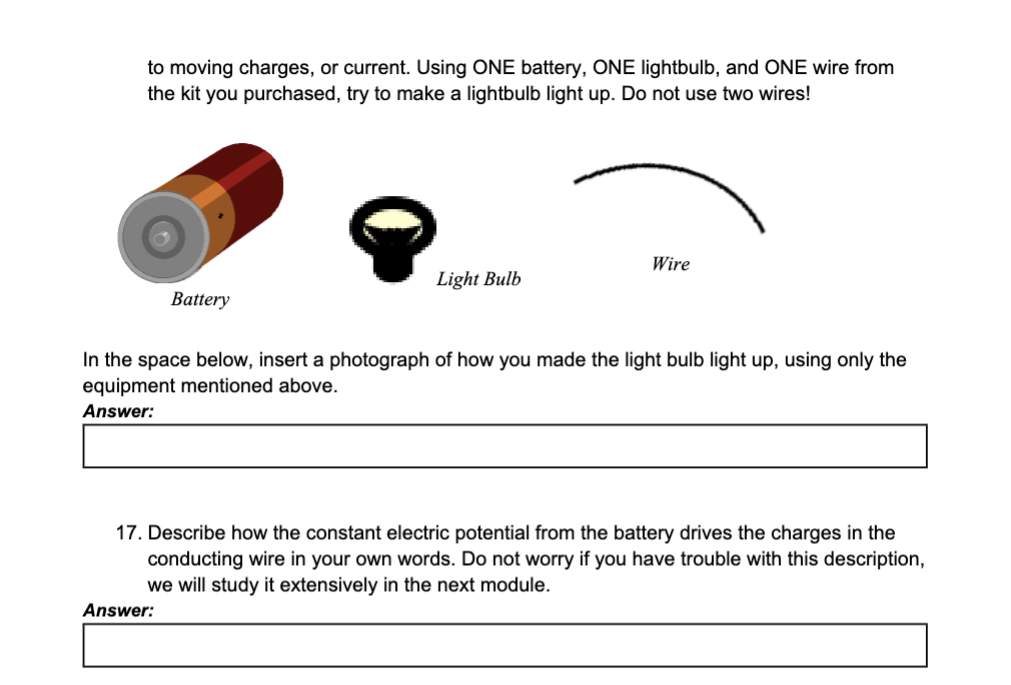
Lab 03 - Electric Fields Introduction To conduct the experiments utilized in this week's lab, you must begin by ensuring the webpage Phet lab - Charges and Fields is able to function in your web browser. First go to the Phet Lab webpage. Likely Chrome will be the best browser for this, but most any should work. Next, click on the +1nC dot and drag it into the black space. You should see something like this: oa a ee prem ew er FN\" . Bs as / F Se Ea ; Figure #1 If you do see a similar screen, then likely the software will work. If not, please try another browser until you do see something similar. Once you are certain your web-browser is capable of using this app, then refresh it until you have a blank/black screen and begin the activities below. Materials/Supplies e Access to computer and high-speed internet e Electronics kit from Amazon Time Spent e Approximately 2 hours, does not need to be done at one sitting Learning Objectives e Define electric force, electric field, and electric potential and their respective characteristics as vectors or scalars Apply these definitions to characterize static charges in various configurations Virtual Lab 1. What can you change about the simulation? Answer: PT 2. Click on the \"sensor\" dot on the bottom and put it somewhat far from a +1nC charge. Then click \"show values\" on the upper right box. What is the physical significance of this value? Answer: PO 3. How can you make a charge of +2nC? -3nC? Describe your attempts to do this below. Answer: PO 4. Draw the field lines for a +4nC charge. Make sure you are sketching continuous field lines. You can use Google Drawing to complete this or simply attach a screenshot of your image from the simulator. Answer: PO 5. Refresh the screen and repeat this for a -2nC charge. Answer: Po 6. Refresh the browser, and place a +2nC and a -2nC about 1 meter away from each other. Be sure to use the measuring tape to be precise. Sketch or screenshot continuous field lines between these two charges below. Answer: PT 7. Refresh again and place TWO +2nC charges about 1 meter apart and sketch or screenshot the continuous field lines below. Answer: PO 8. When you have two like charges in a line where is the electric field the greatest? Is there ever a point where the field will be zero? Answer: PO 9. When you have two unlike charges in a line where is the electric field the greatest? Is there ever a point where the field will be zero? Answer: Po 10. Refresh and place THREE +1nC charges at equal distances from each other. Draw or screenshot continuous electric field lines below, in addition to writing at least 5 magnitudes of the electric field from the sensor, at different positions. Answer: Po 11. Refresh and place FOUR charges, TWO +1nC and TWO -inC, in a square shape. Draw or screenshot continuous electric field lines and write in the electric field sensor magnitude at five different positions. Answer: Po 12. Refresh and place a row of +1nC charges on the bottom of the screen. You should use at least 20 separate charges in the row. Draw or screenshot the continuous electric field lines below and write in the electric field strength at 1.5 meters above the center of the line of charges. Answer: PO 13. DO NOT refresh, and now place a long line of -1nC, the same number as you did for positive charges, on the top of the screen about 3 meters from the positive charges. Sketch or screenshot the continuous electric field lines below and make note of the electric field value at the same position, 1.5 meters above the center of the positive row. Answer: PO You have just created a parallel plate capacitor! We will study these in more detail in the next module, but it's worth having this image of the E-field between oppositely charged plates in mind, as we get into capacitance. Now refresh and click the options for \"values\" and \"grid\" on the upper right part of the screen. Place ONE positive charge on the left center of the screen. Place ONE negative charge on the same grid line only the right side of the screen about 3 meters away. Then move the electric field sensor along the grid line that connects the two charges and write down the electric field value at equal distances, say every 20 cm. 14. Make a table of the electric field values in the leftmost column. Next write down the distance between each measurement, in the second column. Now write down a calculated voltage in the third column. Lastly, measure the voltage at each of the positions with the volt-meter provided in the toolbox on the right side of the screen, and write those values down in the fourth column. Answers: 15. How well do your calculated voltages match the measured voltages? Comment on any differences. Answer: PO Next week will use Voltage extensively, so it's worth having a good idea of where voltage \"comes from\" in terms of static charges. Voltage is approximated as the negative of the change of the electric field, times the distance covered when the E-field changes. 16. Next we will begin analyzing electrical circuits. This material will be covered extensively in the next module. However, it is worthwhile to see it before studying it, so to speak. The current module relates to charges that are stationary, while the next module relates to moving charges, or current. Using ONE battery, ONE lightbulb, and ONE wire from the kit you purchased, try to make a lightbulb light up. Do not use two wires! DD 5 Wire Light Bulb Battery In the space below, insert a photograph of how you made the light bulb light up, using only the equipment mentioned above. Answer: 17. Describe how the constant electric potential from the battery drives the charges in the conducting wire in your own words. Do not worry if you have trouble with this description, we will study it extensively in the next module
Step by Step Solution
There are 3 Steps involved in it
1 Expert Approved Answer
Step: 1 Unlock
Question Has Been Solved by an Expert!
Get step-by-step solutions from verified subject matter experts
Step: 2 Unlock
Step: 3 Unlock
Students Have Also Explored These Related Accounting Questions!