

Question: Modifying the code provided... it should create this image..... . 2 D Random Walk With the addition of a second dimension, the process can get
Modifying the code provided... it should create this image.....D Random Walk
With the addition of a second dimension, the process can get more interesting. The idea is still the same:
generate a random number no longer a coin flip, but a random value between and and based on that
number, move in a particular direction. For example, a might be used to represent up or north, or a decrease
in the value of a point, while a might represent right, east, an increase in the value of a point, and so on
D Random walks, with approximately "steps" each
Description
For this assignment, you are going to create a program that looks like the following: D Random Walk
With the addition of a second dimension, the process can get more interesting. The idea is still the same:
generate a random number no longer a coin flip, but a random value between and and based on that
number, move in a particular direction. For example, a might be used to represent up or north, or a decrease
in the value of a point, while a might represent right, east, an increase in the value of a point, and so on
D Random walks, with approximately "steps" each
Description
For this assignment, you are going to create a program that looks like the following: The key features of this program will be: The UI which consists of a few controls from the ControlP library:
A Start button, to clear the previous result and start a new random walk.
Toggles:
One to control whether the color ramps up based on the number of iterations.
One to control whether the random walk is executed all at once, or gradually, one frame at a time.
TERMINOLOGY NOTE: A toggle is essentially a checkbox.
Sliders:
One to control the maximum number of iterations, with a range of to
One to control the number of steps to be executed at once in the gradual process, with a range of
to
The rendered data itself, the visual result of the random walk algorithm you implement.
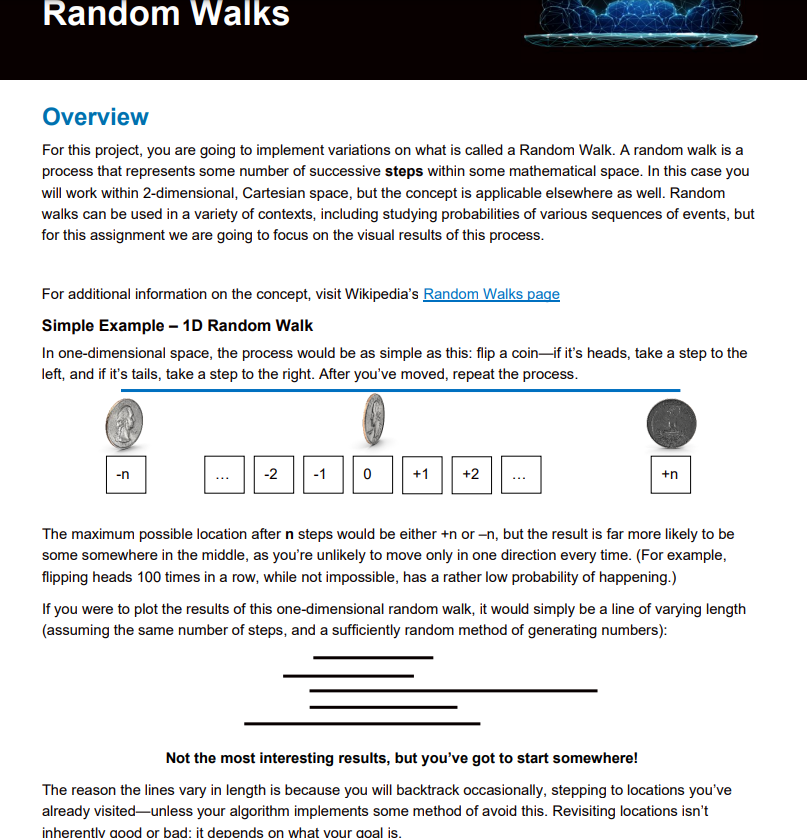
Random Walk Algorithm Moving
As mentioned earlier, the simplest form of the random walk algorithm is in onedimensional space and involves
a "coin toss"generating a random number that is either or Based on the result, move either left or right,
and repeat as many times as you like, or as specified by some variable.
In dimensions, the same concept applies. You can generate a random number between and or if
you want to count like a programmer! and then move accordingly:
Take a step
Generate a random number from
if number is
move up
else if number is
move down
else if number is
move left
else if number is
move right
After you've taken a step, the next thing would be to draw the step. In this
assignment, that will be a simple point, using the pointx y function. For this assignment, however, you should clamp the values to ensure they always stay within a particular
range. The range in this case would be and the width for the x value, and and height for the y value.
Random Walk Algorithm Drawing
After you've taken a step, the next thing would be to draw the step. In this assignment, that will be a simple
point, using the point function. The color of the point is determined by the last values passed to the
stroke function.
UI Specifications
Structure your UI so that it matches the image earlier in this document. Small discrepancies such as the
position of a control, text size, etc. are acceptable, but try to match the layout as closely as possible.
Window Size: Create a window of size
NOTE: If you have a highresolution display, might appear quite small! You can call the function
pixelDensity and pass it a value of AFTER you call the size function in setup
Background Color: The background color used in the example is You may change this to
something else if you wish, but the primary functionality the random walk will range from black to white. Any
background color that makes the main functionality difficultimpossible to see may incur a penalty.
Start Button
The start button should do just that: start the execution of your algorithm. Clear the screen of any previous
results, reset any necessary values, and begin. Whether your program is running gradually or all at once, it
should begin with the press of this button.
SpecificatioIndividual controls are then added to this object, and the functions to
Step by Step Solution
There are 3 Steps involved in it
1 Expert Approved Answer
Step: 1 Unlock

Question Has Been Solved by an Expert!
Get step-by-step solutions from verified subject matter experts
Step: 2 Unlock
Step: 3 Unlock