

Question: The Pixel Art Maker repository on GitHub link ------ https://github.com/udacity/project-pixel-art-maker-starter Development Strategy Before writing any code, try loading up index.html from the starter project to

The Pixel Art Maker repository on GitHub link ------ https://github.com/udacity/project-pixel-art-maker-starter
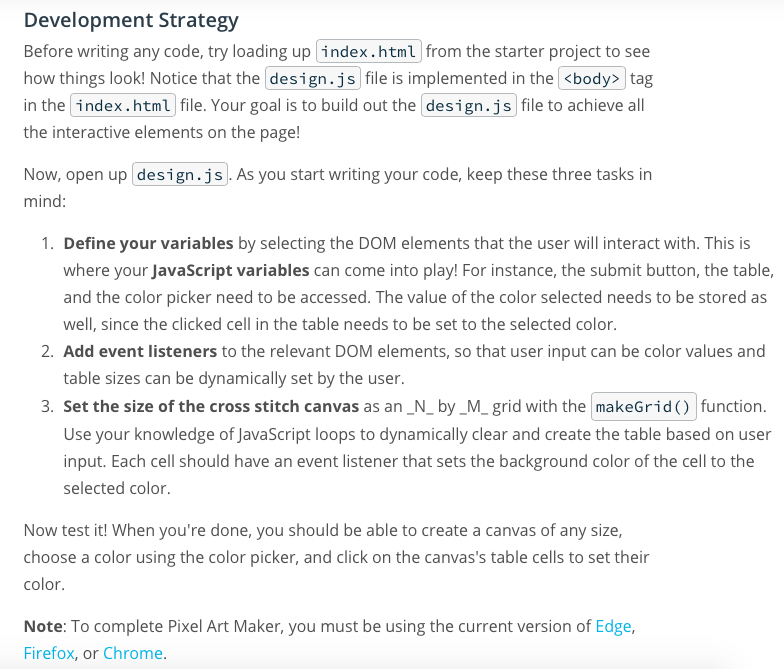
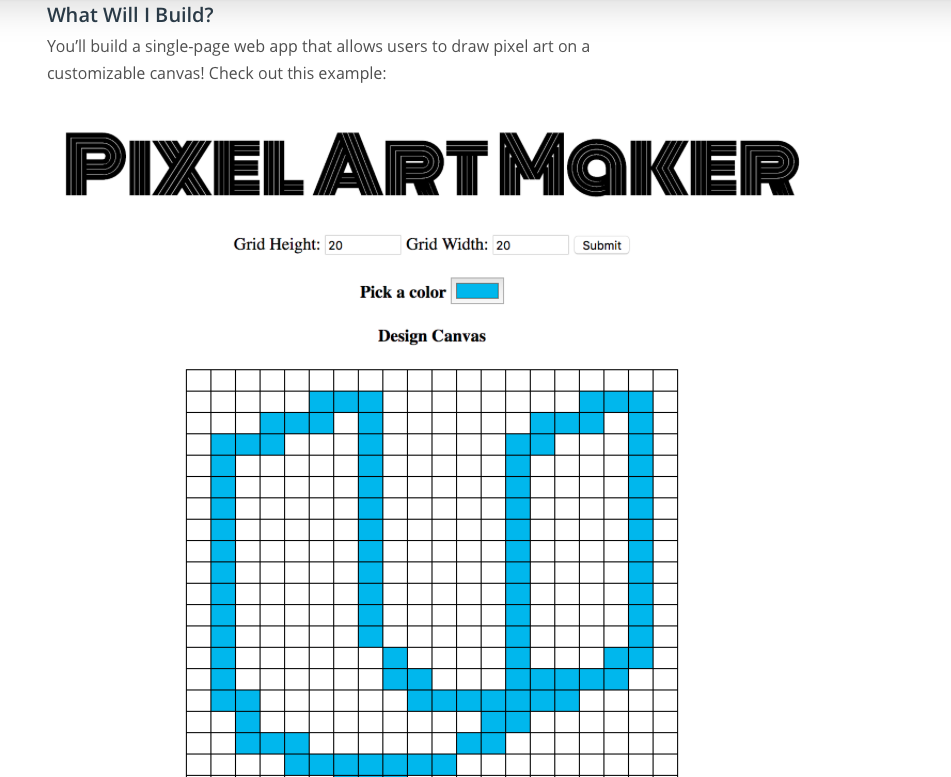
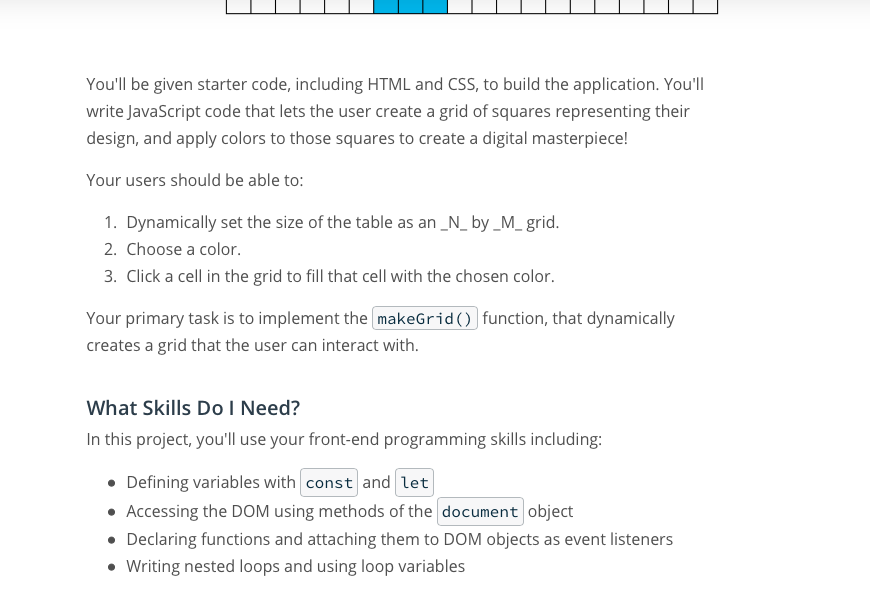
Development Strategy Before writing any code, try loading up index.html from the starter project to see how things look! Notice that the design.js file is implemented in the kbody>tag in the index.html file. Your goal is to build out the design.js file to achieve all the interactive elements on the page! Now, open up design.js. As you start writing your code, keep these three tasks in mind 1. Define your variables by selecting the DOM elements that the user will interact with. This is where your JavaScript variables can come into play! For instance, the submit button, the table, and the color picker need to be accessed. The value of the color selected needs to be stored as well, since the clicked cell in the table needs to be set to the selected color 2. Add event listeners to the relevant DOM elements, so that user input can be color values and table sizes can be dynamically set by the user 3. Set the size of the cross stitch canvas as an_N_by_M_ grid with the makeGrid) function. Use your knowledge of JavaScript loops to dynamically clear and create the table based on user input. Each cell should have an event listener that sets the background color of the cell to the selected color Now test it! When you're done, you should be able to create a canvas of any size, choose a color using the color picker, and click on the canvas's table cells to set their color. Note: To complete Pixel Art Maker, you must be using the current version of Edge, Firefox, or Chrome Project Submission How will this project be evaluated? Your project will be evaluated by a Udacity code reviewer according to the Pixel Art Maker project rubric. Be sure to review it thoroughly before you submit. All criteria must "meet specifications" in order to pass. Submission Instructions Before submitting, make sure your code follows our style guidelines: CSS Style Guide HTML Style Guide JavaScript Style Guide Git Style Guide Create a new repository on GitHub and push your code up to it, making sure to push your master branch. Then, connect your GitHub account and select your Pixel Art Maker project's repository If you are having any problems submitting your project or wish to check on the status of your submission, please email us at **ipnd-support@udacity.com** or visit us in Knowledge. Pixel Art Maker Design CRITERIA MEETS SPECIFICATIONS JavaScript Loops and Functions The student implements while and for loops to clear and create the grid dynamically Student successfully implements makeGrid) and call it upon the user submitting the grid size JavaScript Selectors and Event Listeners The student uses selectors to access user input values and select elements in the DOM The student uses event listeners to trigger grid creation, and modify the grid colors. Code Quality CRITERIA MEETS SPECIFICATIONS Code Quality Code is ready for review, meaning new lines and indentation are used for easy readability. What Will I Build? You'll build a single-page web app that allows users to draw pixel art on a customizable canvas! Check out this example PIXELARTMOKER Grid Height: 20 Grid Width: 20 Submit Design Canvas You'll be given starter code, including HTML and CSS, to build the application. You'll write JavaScript code that lets the user create a grid of squares representing their design, and apply colors to those squares to create a digital masterpiece! Your users should be able to: 1. Dynamically set the size of the table as an_N_ by_M_ grid 2. Choose a color 3. Click a cell in the grid to fill that cell with the chosen color. Your primary task is to implement the makeGrid() function, that dynamically creates a grid that the user can interact with. What Skills Do I Need? In this project, you'll use your front-end programming skills including: Defining variables with const and let Accessing the DOM using methods of the document object Declaring functions and attaching them to DOM objects as event listeners Writing nested loops and using loop variables Development Strategy Before writing any code, try loading up index.html from the starter project to see how things look! Notice that the design.js file is implemented in the kbody>tag in the index.html file. Your goal is to build out the design.js file to achieve all the interactive elements on the page! Now, open up design.js. As you start writing your code, keep these three tasks in mind 1. Define your variables by selecting the DOM elements that the user will interact with. This is where your JavaScript variables can come into play! For instance, the submit button, the table, and the color picker need to be accessed. The value of the color selected needs to be stored as well, since the clicked cell in the table needs to be set to the selected color 2. Add event listeners to the relevant DOM elements, so that user input can be color values and table sizes can be dynamically set by the user 3. Set the size of the cross stitch canvas as an_N_by_M_ grid with the makeGrid) function. Use your knowledge of JavaScript loops to dynamically clear and create the table based on user input. Each cell should have an event listener that sets the background color of the cell to the selected color Now test it! When you're done, you should be able to create a canvas of any size, choose a color using the color picker, and click on the canvas's table cells to set their color. Note: To complete Pixel Art Maker, you must be using the current version of Edge, Firefox, or Chrome Project Submission How will this project be evaluated? Your project will be evaluated by a Udacity code reviewer according to the Pixel Art Maker project rubric. Be sure to review it thoroughly before you submit. All criteria must "meet specifications" in order to pass. Submission Instructions Before submitting, make sure your code follows our style guidelines: CSS Style Guide HTML Style Guide JavaScript Style Guide Git Style Guide Create a new repository on GitHub and push your code up to it, making sure to push your master branch. Then, connect your GitHub account and select your Pixel Art Maker project's repository If you are having any problems submitting your project or wish to check on the status of your submission, please email us at **ipnd-support@udacity.com** or visit us in Knowledge. Pixel Art Maker Design CRITERIA MEETS SPECIFICATIONS JavaScript Loops and Functions The student implements while and for loops to clear and create the grid dynamically Student successfully implements makeGrid) and call it upon the user submitting the grid size JavaScript Selectors and Event Listeners The student uses selectors to access user input values and select elements in the DOM The student uses event listeners to trigger grid creation, and modify the grid colors. Code Quality CRITERIA MEETS SPECIFICATIONS Code Quality Code is ready for review, meaning new lines and indentation are used for easy readability. What Will I Build? You'll build a single-page web app that allows users to draw pixel art on a customizable canvas! Check out this example PIXELARTMOKER Grid Height: 20 Grid Width: 20 Submit Design Canvas You'll be given starter code, including HTML and CSS, to build the application. You'll write JavaScript code that lets the user create a grid of squares representing their design, and apply colors to those squares to create a digital masterpiece! Your users should be able to: 1. Dynamically set the size of the table as an_N_ by_M_ grid 2. Choose a color 3. Click a cell in the grid to fill that cell with the chosen color. Your primary task is to implement the makeGrid() function, that dynamically creates a grid that the user can interact with. What Skills Do I Need? In this project, you'll use your front-end programming skills including: Defining variables with const and let Accessing the DOM using methods of the document object Declaring functions and attaching them to DOM objects as event listeners Writing nested loops and using loop variables
Step by Step Solution
There are 3 Steps involved in it

Get step-by-step solutions from verified subject matter experts