

Question: Tutorial Exercise - VT 1 0 0 Simulation Not to be submitted but MUST BE shown to your lab TA VT 1 0 0 is
Tutorial Exercise VT Simulation
Not to be submitted but MUST BE shown to your lab TA
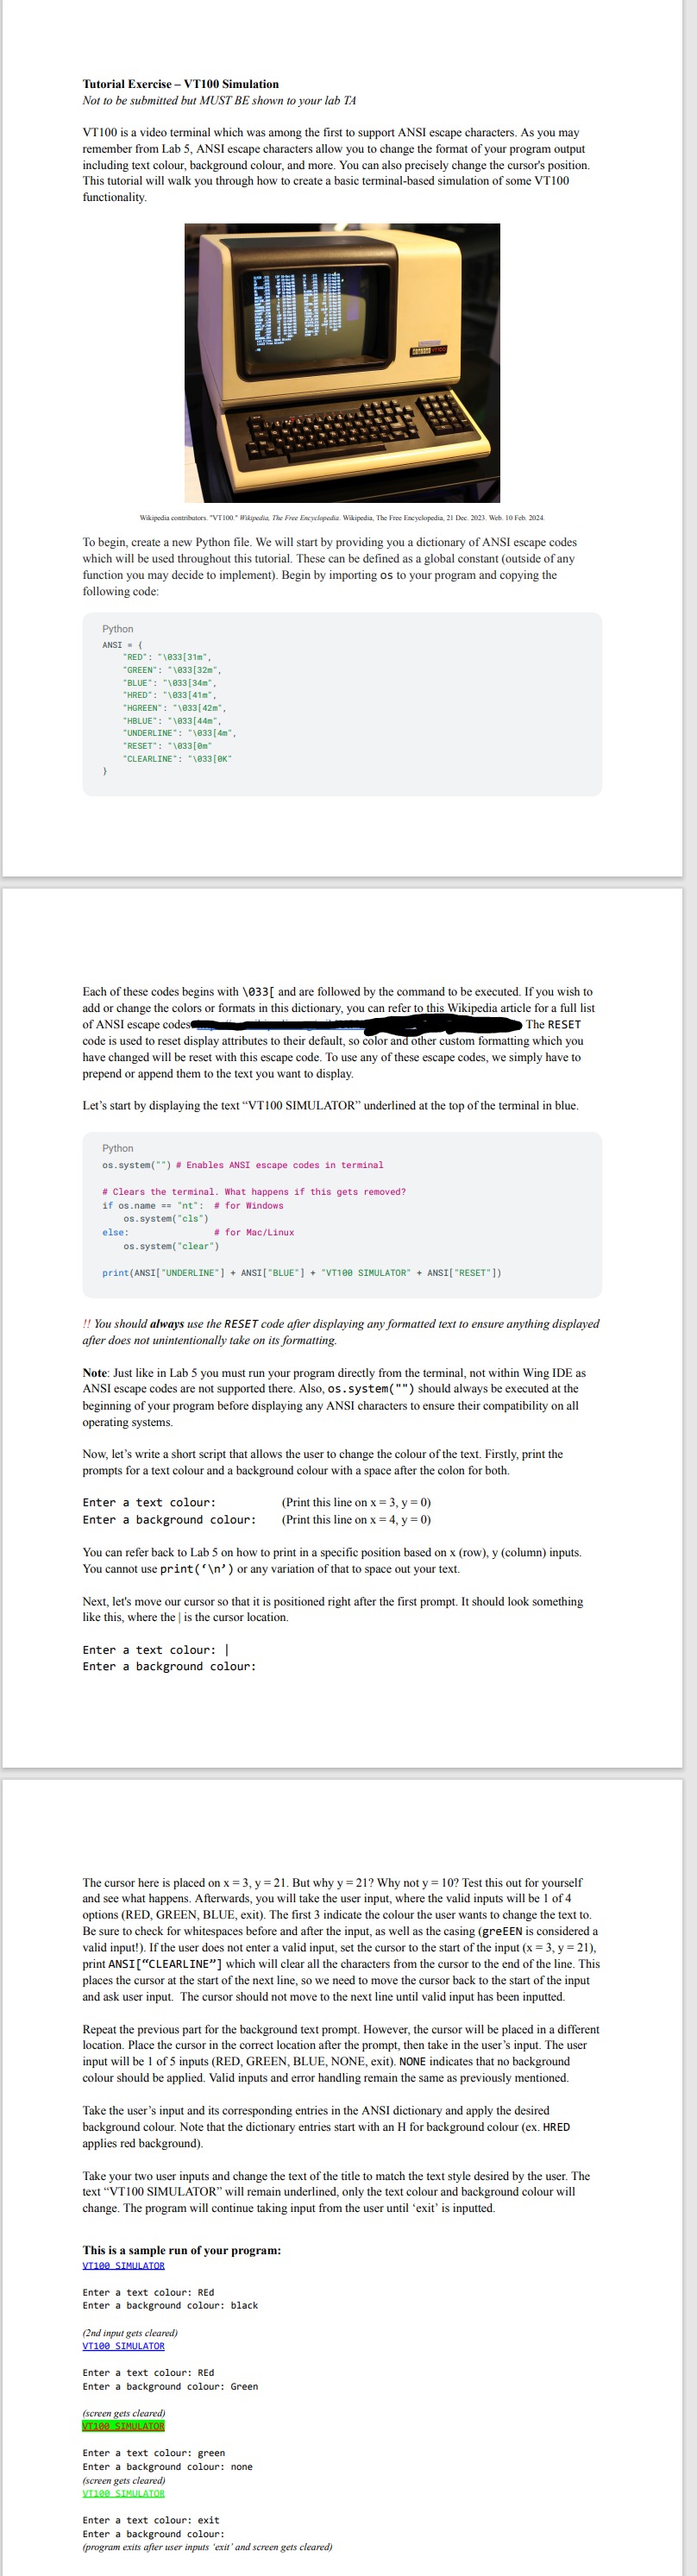
VT is a video terminal which was among the first to support ANSI escape characters. As you may
including text colour, ANSI escape characters allow you to change the format of your program output
This tutorial will walk you through how to create a basic terminalbased simulation of some VT
functionality.
To begin, create a Python file. We vill
which will be used throughot this
function you may decide to implement Begin by importing os to your program and copying the
Python
Each of these codes begins with and are followed by the command to be executed. If you wish to
add or change the colors or formats in this dictionary, you can refer to this Wikipedia article for a full lis
code is used to reset display attributes to their default, so color and other custom formatting which you
prepend or append them to the text you want to display.
Let's start by displaying the text VT SIMULATOR" underlined at the top of the terminal in blue.
Python ossystem # Enables ANSI escape codes in terminal
if
osname nt: # for Windows
emclear
for MacLinux
ANSIBLUEVT SIMULATOR" ANSIRESET
You should always use the RESET code after displaying any formatted text to ensure anything displayed
after does not unintentionally take on its formatting.
Note: Just like in Lab you must run your program directly from the terminal, not within Wing IDE
beginning of your program before displaying any ANSI characters to ensure their compatibility on al
operating systems.
Now, let's write a short script that allows the user to change the colour of the text. Firstly, print the
Enter a text colour:
Enter a background colour: this line
this line
You can refer back to Lab on how to print in a specific position based on rowcolumn inputs.
Next, let's move our cursor so that it is positioned right after the first prompt. It should look something
like this, where the is the cursor location.
Enter a text colour:
Enter a background colour:
The cursor here is placed on But why Why not Test this out for yoursel
and see what happens. Afterwards, you will take the user input, where the valid inputs will be of
Be sure to check for whitespaces before and after the input, as well as the casing greEEN is considered
valid input! If the user does not enter a valid input, set the cursor to the start of the input
print ANSI "CLEARLINE" which will clear all the characters from the cursor to the end of the line. T
places the cursor at the start of the next line, so we need to move the cursor back to the start of the input and ask user input. The cursor should not move to the next line until valid input has been inputted.
Repeat the previous part for the background text prompt. However, the cursor will be placed in a different
location. Place the cursor in the correct location after the prompt, then take in the user's input. The user input will be of inputs RED GREEN, BLUE, NONE, exit NONE indicates that no background
colour should be applied. Valid inputs and error handling remain the same as previously mentioned.
Take the user's input and its corresponding entries in the ANSI dictionary and apply the desired
background colour. Note
Take your two user inputs and change the text of the title to match the text style desired by the user. The
change. The program will continue taking input from the user until 'exit' is inputted.
This is a sample VT SIMULATOB
Enter a text colour: REd Enter a background colour: black
tablend input gets clearedVT SIMULATOR
Enter a text colour: REd Enter a background colour: Green
screen gets cleared VT SIMULATO
Enter a text colour: green Enter a background colour: none
Enter a text colour: exit Enter a background colour: program exis fofer ser inpus exi
Step by Step Solution
There are 3 Steps involved in it
1 Expert Approved Answer
Step: 1 Unlock

Question Has Been Solved by an Expert!
Get step-by-step solutions from verified subject matter experts
Step: 2 Unlock
Step: 3 Unlock