

Question: Complete the implementation of the draw_lines function. This function displays several lines on the screen. This exercise will to give you a chance to practice
Complete the implementation of the draw_lines function. This function displays several lines on the screen.
This exercise will to give you a chance to practice with two functions from the ZDK.
draw_line( x1, y1, x2, y2, c ) displays a line constructed from character c between two end points, (x1, y1) and (x2, y2).
show_screen() makes the latest changes to the screen visible.
Notes:
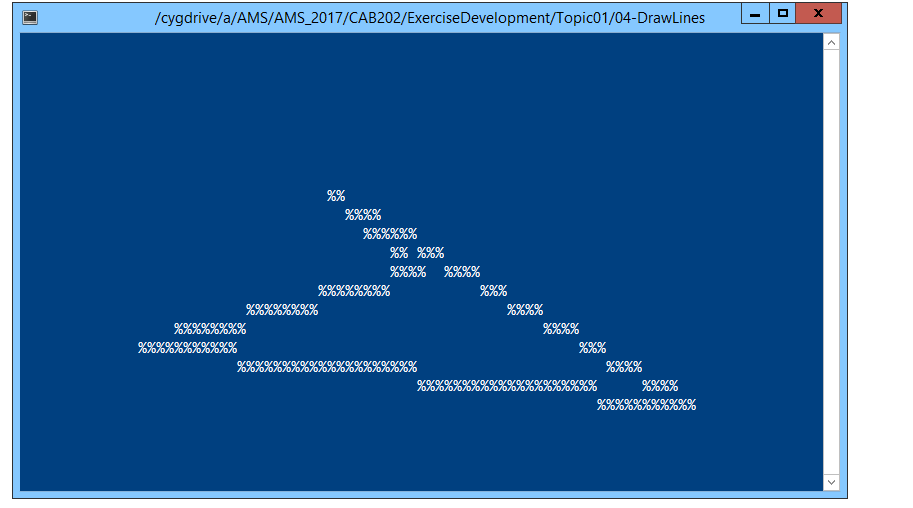
Your task is to draw a connected poly-line (using the '~' symbol) between the following locations on the screen: (19, 14), (66, 13), (67, 18), (10, 18). A final stroke should connect the last point back to the first.
The program should produce a display that resembles the image below. Your results will not be exactly the same as this view, because each user gets a unique set of parameters. However, it should give you an idea what to aim for.
Avoid direct use of ncurses, or standard I/O functions such as printf(). The AMS is looking for a ZDK screen.
Use this test driver to implement and test your function prior to submission.
#include "cab202_graphics.h"
void draw_lines(void){ // (a) Draw a line from (19,14) to (66,13).
// (b) Draw a line from (66,13) to (67,18).
// (c) Draw a line from (67,18) to (10,18).
// (d) Draw a line from (10,18) to (19,14).
// Leave the following instruction unchanged. show_screen(); }
int main( void ) { setup_screen( );
draw_lines();
draw_string( 0, screen_height( ) - 1, "Press any key to finish..." ); wait_char( ); cleanup_screen( ); return 0; }
/cygdrive/a/AMS/AMS 2017/CAB202/ExerciseDevelopment/Topic01/04-DrawLines
Step by Step Solution
There are 3 Steps involved in it

Get step-by-step solutions from verified subject matter experts