Question: On the title slide, insert a Block Arrow shape. Adjust size, shape fill, and position it to point at the picture you just inserted. Next,
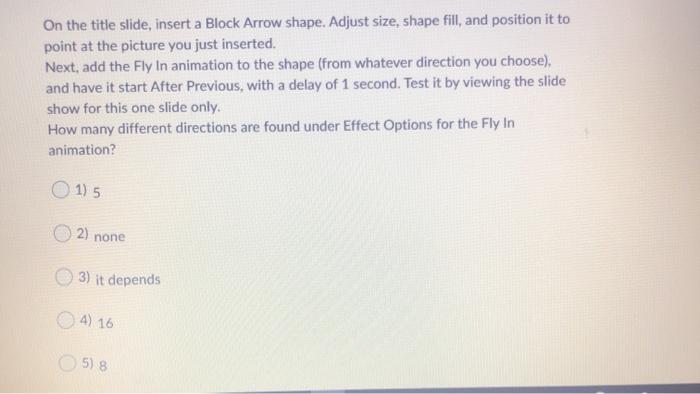
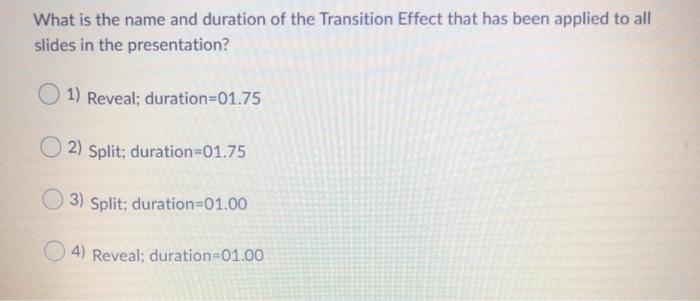
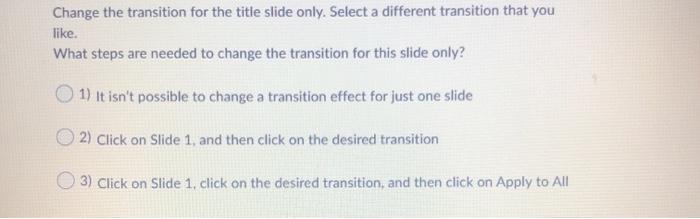
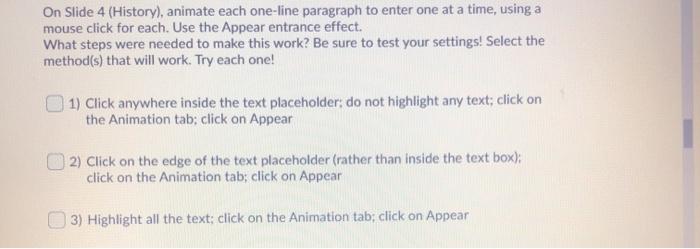
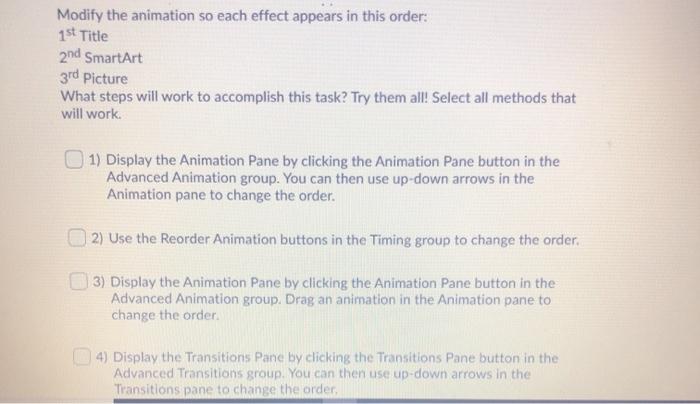
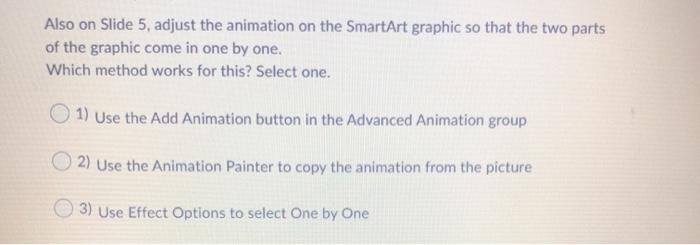
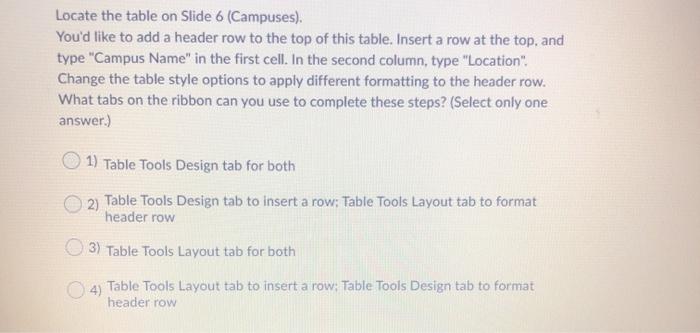
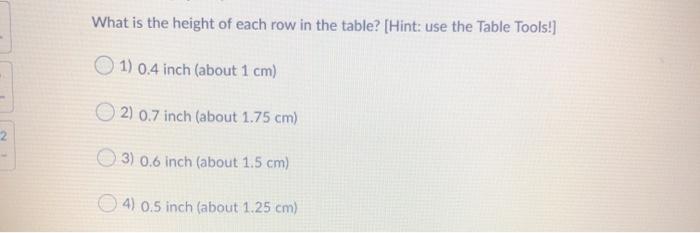
On the title slide, insert a Block Arrow shape. Adjust size, shape fill, and position it to point at the picture you just inserted. Next, add the Fly In animation to the shape (from whatever direction you choose), and have it start After Previous, with a delay of 1 second. Test it by viewing the slide show for this one slide only. How many different directions are found under Effect Options for the Fly In animation? 1) 5 2) none 3) it depends O 4) 16 5) 8 What is the name and duration of the Transition Effect that has been applied to all slides in the presentation? 1) Reveal; duration=01.75 2) Split; duration=01.75 3) Split: duration=01.00 4) Reveal: duration=01.00 Change the transition for the title slide only. Select a different transition that you like. What steps are needed to change the transition for this slide only? 1) it isn't possible to change a transition effect for just one slide 2) Click on Slide 1, and then click on the desired transition (3) Click on Slide 1, click on the desired transition, and then click on Apply to All On Slide 4 (History), animate each one-line paragraph to enter one at a time, using a mouse click for each. Use the Appear entrance effect. What steps were needed to make this work? Be sure to test your settings! Select the method(s) that will work. Try each one! 1) Click anywhere inside the text placeholder: do not highlight any text; click on the Animation tab; click on Appear 2) Click on the edge of the text placeholder (rather than inside the text box); click on the Animation tab; click on Appear 3) Highlight all the text: click on the Animation tab; click on Appear Modify the animation so each effect appears in this order: 1st Title 2nd SmartArt 3rd Picture What steps will work to accomplish this task? Try them all! Select all methods that will work. | 1) Display the Animation Pane by clicking the Animation Pane button in the Advanced Animation group. You can then use up-down arrows in the Animation pane to change the order. 2) Use the Reorder Animation buttons in the Timing group to change the order. 13) Display the Animation Pane by clicking the Animation Pane button in the Advanced Animation group. Drag an animation in the Animation pane to change the order 4) Display the Transitions Pane by clicking the Transitions Pane button in the Advanced Transitions group. You can then use up-down arrows in the Transitions pane to change the order, Also on Slide 5, adjust the animation on the SmartArt graphic so that the two parts of the graphic come in one by one. Which method works for this? Select one. O 1) Use the Add Animation button in the Advanced Animation group 2) Use the Animation Painter to copy the animation from the picture 3) Use Effect Options to select One by One Locate the table on Slide 6 (Campuses). You'd like to add a header row to the top of this table. Insert a row at the top, and type "Campus Name" in the first cell. In the second column, type "Location". Change the table style options to apply different formatting to the header row. What tabs on the ribbon can you use to complete these steps? (Select only one answer.) 1) Table Tools Design tab for both 2) Table Tools Design tab to insert a row: Table Tools Layout tab to format header row 3) Table Tools Layout tab for both 4) Table Tools Layout tab to insert a row: Table Tools Design tab to format header row What is the height of each row in the table? (Hint: use the Table Tools!) 1) 0.4 inch (about 1 cm) 2) 0.7 inch (about 1.75 cm) 2 3) 0.6 inch (about 1.5 cm) 4) 0.5 inch (about 1.25 cm) Find the name of the current style that is applied to the table. What category of styles does this style belong to? 1) Light 2) Medium 3) Dark 4) No style has been applied to this table Move to Slide 7 (Campus Services). Apply a Picture Style of your choice to the picture. Where on the ribbon is the command to do this? 1) Insert tab, Images group 2) Design tab. Customize group 3) Picture Tools Format tab, Picture Styles group 4) Picture Tools Format tab. Adjust group For all slides except the title slide, insert the following information using the Header and Footer dialog box: - Date and Time (update automatically, choose whatever date format you prefer) - Slide Number - Footer: Manitoba, Canada Where on each slide do these elements appear? 1) All of the elements are on the top of the slide. 2) The date is on the bottom left: the footer and slide number are rotated on the right side 3) All of the elements are on the bottom of the slide. 4) The date is on the top left; the footer and slide number are rotated on the left side