

Question: Phase 1 : LitePegButton class Create class LitePegButton that extends JButton. It will represent the state of a single colored peg. LitePegButton should have a
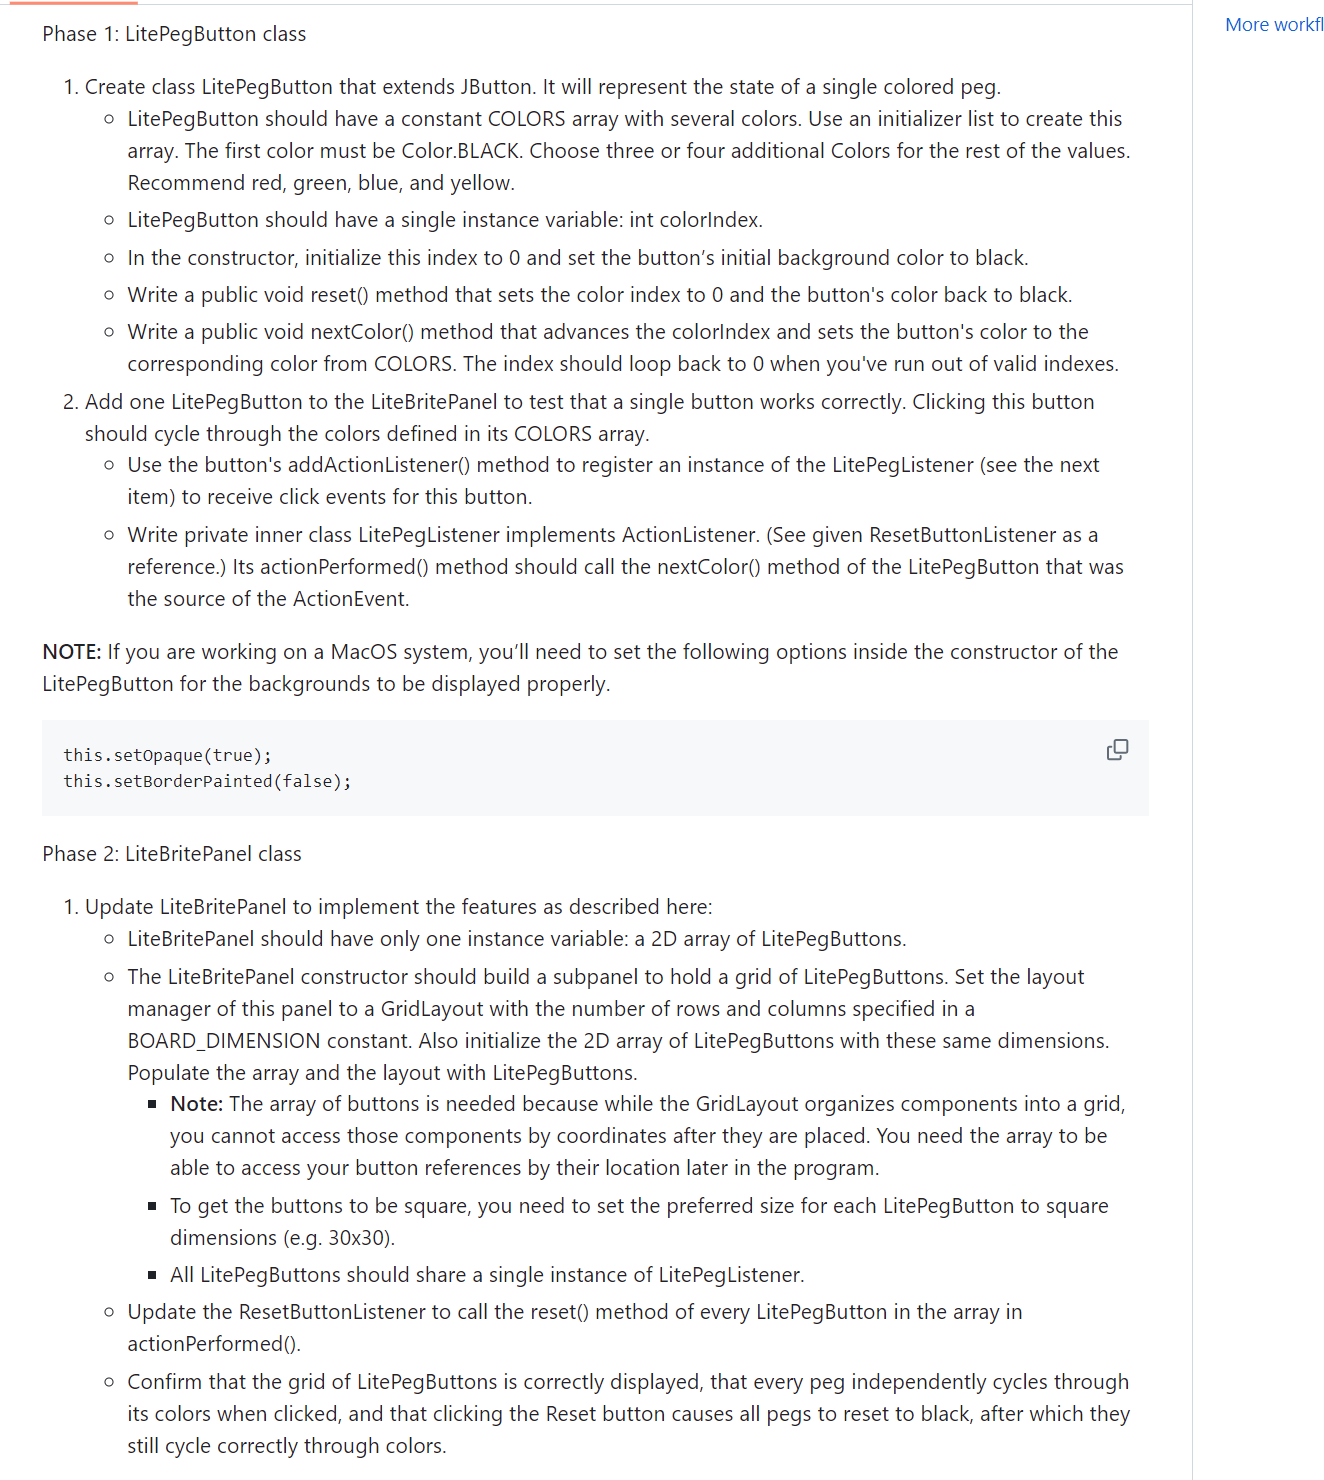
Phase : LitePegButton class
Create class LitePegButton that extends JButton. It will represent the state of a single colored peg.
LitePegButton should have a constant COLORS array with several colors. Use an initializer list to create this
array. The first color must be Color.BLACK. Choose three or four additional Colors for the rest of the values.
Recommend red, green, blue, and yellow.
LitePegButton should have a single instance variable: int colorIndex.
In the constructor, initialize this index to and set the button's initial background color to black.
Write a public void reset method that sets the color index to and the button's color back to black.
Write a public void nextColor method that advances the colorIndex and sets the button's color to the
corresponding color from COLORS. The index should loop back to when you've run out of valid indexes.
Add one LitePegButton to the LiteBritePanel to test that a single button works correctly. Clicking this button
should cycle through the colors defined in its COLORS array.
Use the button's addActionListener method to register an instance of the LitePegListener see the next
item to receive click events for this button.
Write private inner class LitePegListener implements ActionListener. See given ResetButtonListener as a
reference. Its actionPerformed method should call the nextColor method of the LitePegButton that was
the source of the ActionEvent.
NOTE: If you are working on a MacOS system, you'll need to set the following options inside the constructor of the
LitePegButton for the backgrounds to be displayed properly.
this.setopaquetrue;
this.setBorderPaintedfalse;
Phase : LiteBritePanel class
Update LiteBritePanel to implement the features as described here:
LiteBritePanel should have only one instance variable: a D array of LitePegButtons.
The LiteBritePanel constructor should build a subpanel to hold a grid of LitePegButtons. Set the layout
manager of this panel to a GridLayout with the number of rows and columns specified in a
BOARDDIMENSION constant. Also initialize the D array of LitePegButtons with these same dimensions.
Populate the array and the layout with LitePegButtons.
Note: The array of buttons is needed because while the GridLayout organizes components into a grid,
you cannot access those components by coordinates after they are placed. You need the array to be
able to access your button references by their location later in the program.
To get the buttons to be square, you need to set the preferred size for each LitePegButton to square
dimensions egx
All LitePegButtons should share a single instance of LitePegListener.
Update the ResetButtonListener to call the reset method of every LitePegButton in the array in
actionPerformed
Confirm that the grid of LitePegButtons is correctly displayed, that every peg independently cycles through
its colors when clicked, and that clicking the Reset button causes all pegs to reset to black, after which they
still cycle correctly through colors.
LiteBritePanel contains the following code:
Phase : Enable the following block of code to test the
functionality of a single LitePegButton.
Remove this comment and associated code once LitePegButton is working and you are ready to enable the Phase code.
Adds a single LitePegButton and a reset button to this
panel for developing and testing the LitePegButton class.
LitePegButton testButton new LitePegButton;
LitePegButtonListener pegListener new LitePegButtonListener;
testButton.addActionListenerpegListener;
testButton.setPreferredSizenew Dimension;
this.addtestButton;
Phase :
JButton resetButton new JButtonReset;
resetButton.setFont new FontArial Font.PLAIN, ;
resetButton.addActionListenernew ResetButtonListener;
JPanel controlPanel new JPanel;
controlPanel.setLayoutnew BoxLayoutcontrolPanel BoxLayout.YAXIS;
controlPanel.addBoxcreateVerticalGlue; for vertical centering
controlPanel.addresetButton;
controlPanel.addBoxcreateVerticalGlue; for vertical centering
Subpanel to display a grid of LitePegButtons
Populate the grid subpanel and button array with LitePegButtons
sharing a single listener
Set layout of this panel
Add subpanels to this panel
Step by Step Solution
There are 3 Steps involved in it
1 Expert Approved Answer
Step: 1 Unlock

Question Has Been Solved by an Expert!
Get step-by-step solutions from verified subject matter experts
Step: 2 Unlock
Step: 3 Unlock