

Question: PURPOSE:In this program, you will declare class NumDays for the program described on the next page. A starter project, U 3 - 0 1 h
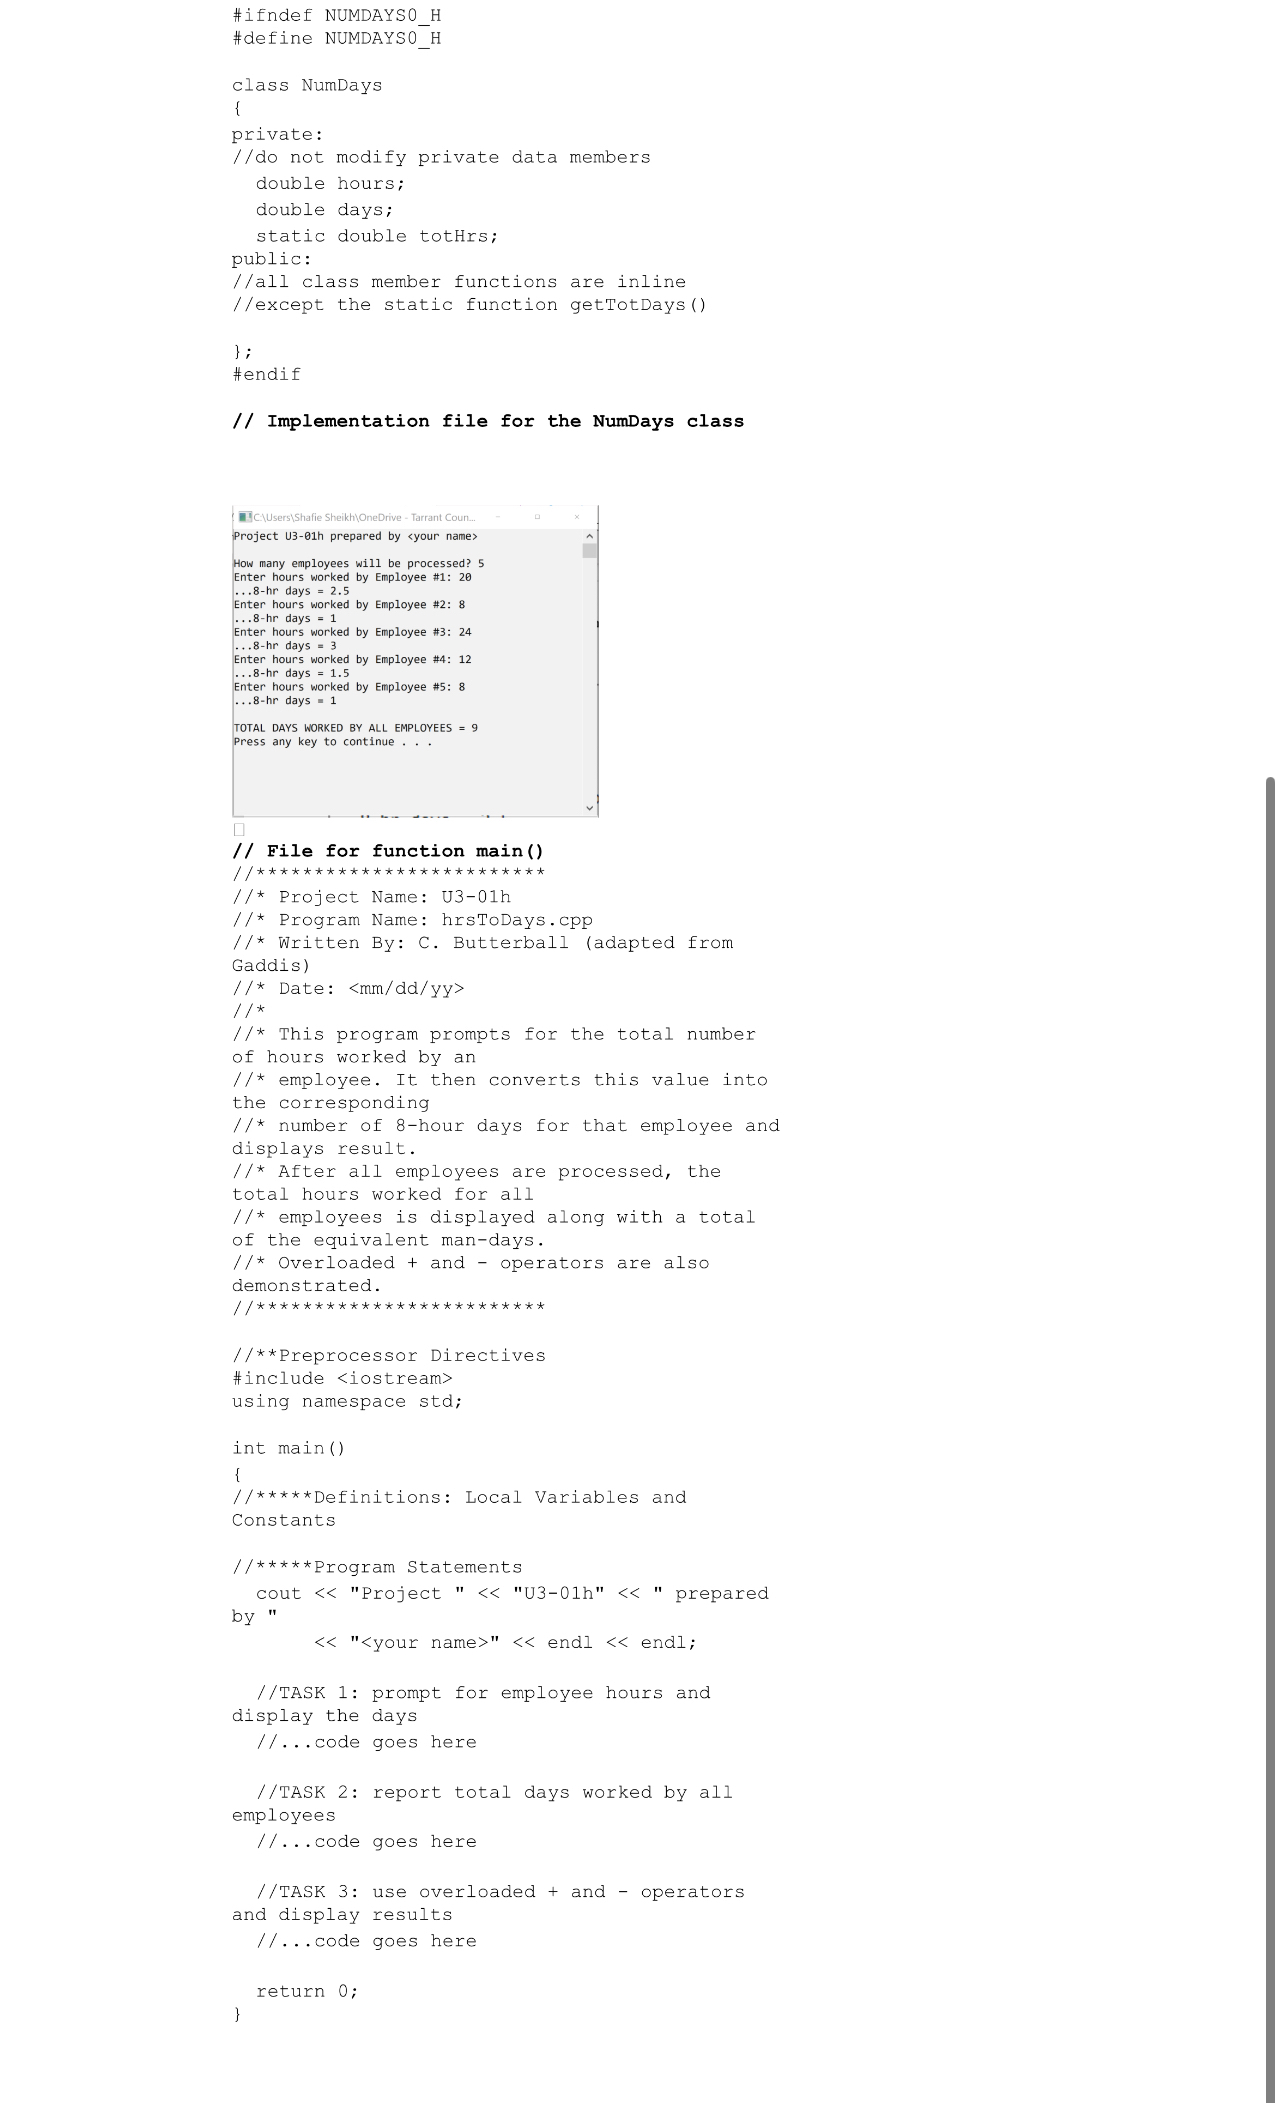
PURPOSE:In this program, you will declare class NumDays for the program described on the next page. A starter project, Uhxy provides three source files, NumDaysh NumDayscpp and hrsToDayscpp UhDEMO.exe is also provided as reference. Copy the project folder to your Unit Labs folder and rename as usual.PROCEDURE Prepare source code file Check that the starter program will build and execute properly Save NumDaysh as NumDaysh NumDayscpp as NumDayscpp and hrsToDayscpp as hrsToDayscpp Exclude the former source files and Add the latter Update the program header and the runtime header Use the program comments in the starter code as a guide for organizing your program as specified Declare a class with the following members: Private Data Members: Use only the two instance members and one static member shown in the starter code Public Function Members: Note from the starter code that all class member functions are to be inline except the static function getTotDays Write code for main Define a fiveelement array of class NumDays. Define other objects, variables, and constants as needed Use the structure provided by comments in the starter code to organize your program Implement and test the program: Note that main consists of three tasks as described in the comments. Follow the best practice of completing each task before coding and testing the next Thoroughly test the program. Note from the screen shot that you do not have to enter five employees every time you run a test. The user controls how many employees will actually be entered Execute the program and print a console screenshot of the results using the data shown with the starter code. Save your screenshot in the project folder Print the source code in the following order: NumDaysh NumDayscpp and hrsToDay.cpp
Step by Step Solution
There are 3 Steps involved in it
1 Expert Approved Answer
Step: 1 Unlock

Question Has Been Solved by an Expert!
Get step-by-step solutions from verified subject matter experts
Step: 2 Unlock
Step: 3 Unlock