

Question: The purpose is to Create a web browser in visual studio c#. all the steps and instructions are given below. follow each one one to
The purpose is to Create a web browser in visual studio c#. all the steps and instructions are given below. follow each one one to come up with a web browser of your name. 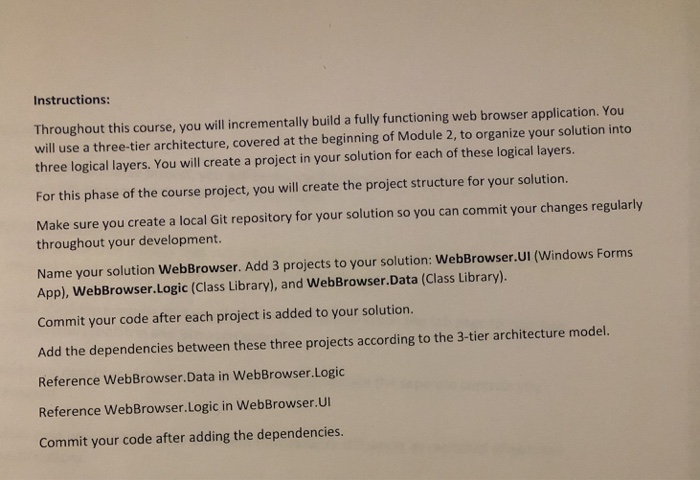
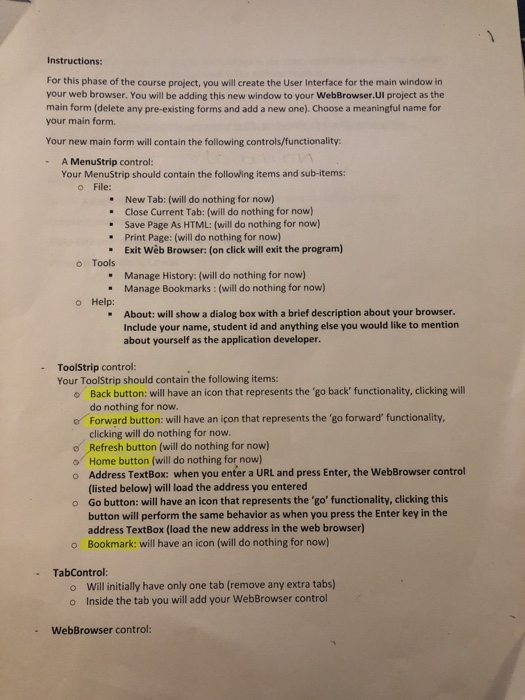

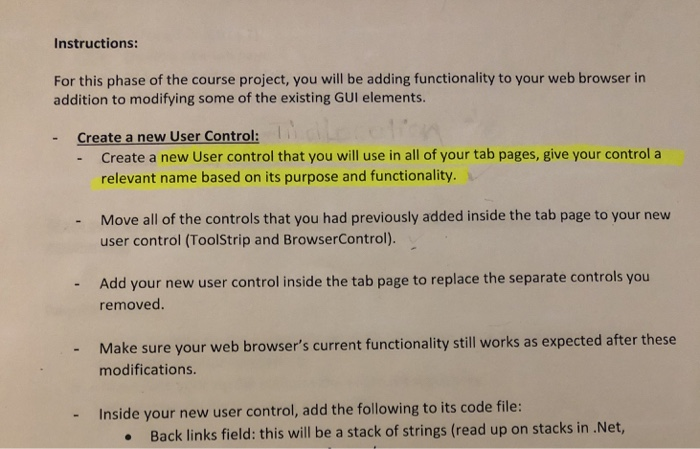
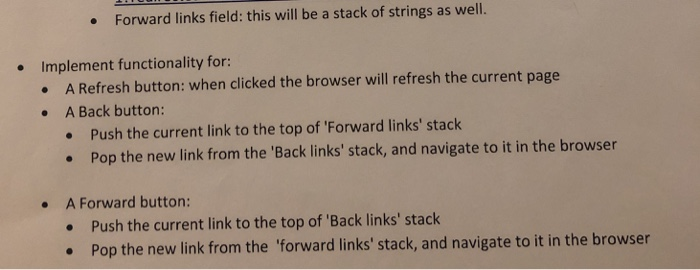
Instructions: Throughout this course, you will incrementally build a fully functioning web browser application. You will use a three-tier architecture, covered at the beginning of Module 2, to organize your solution into three logical layers. You will create a project in your solution for each of these logical layers. For this phase of the course project, you will create the project structure for your solution. Make sure you create a local Git repository for your solution so you can commit your changes regularly throughout your development. Name your solution WebBrowser. Add 3 projects to your solution: WebBrowser.UI (Windows Forms App), WebBrowser.Logic (Class Library), and WebBrowser.Data (Class Library). Commit your code after each project is added to your solution. Add the dependencies between these three projects according to the 3-tier architecture model. Reference WebBrowser.Data in WebBrowser.Logic Reference WebBrowser.Logic in WebBrowser.UI Commit your code after adding the dependencies Instructions: For this phase of the course project, you will create the User Interface for the main window in your web browser. You will be adding this new window to your WebBrowser.Ul project as the main form (delete any pre-existing forms and add a new one). Choose a meaningful name for your main form. Your new main form will contain the following controls/functionality A MenuStrip control: Your MenuStrip should contain the following items and sub-items: o File: . New Tab: (will do nothing for now) Close Current Tab: (will do nothing for now) Save Page As HTML: (will do nothing for now) Print Page: (will do nothing for now) - .Exit Web Browser: (on click will exit the program) o Tools Manage History: (will do nothing for now) Manage Bookmarks : (will do nothing for now) - o Help: About: will show a dialog box with a brief description about your browser. Include your name, student id and anything else you would like to mention about yourself as the application developer. - ToolStrip control Your ToolStrip should contain the following items: Back button: will have an icon that represents the 'go back' functionality, clicking will do nothing for now. o Forward button: will have an icon that represents the 'go forward' functionality, clicking will do nothing for now. o Refresh button (will do nothing for now) o Home button (will do nothing for now) Address TextBox: (listed below) will load the address you entered Go button: will have an icon that represents the 'go' functionality, clicking this button will perform the same behavior as when you press the Enter key in the address TextBox (load the new address in the web browser) Bookmark: will have an icon (will do nothing for now) o when you enter a URL and press Enter, the WebBrowser control o o TabControl o o Will initially have only one tab (remove any extra tabs) Inside the tab you will add your WebBrowser control . WebBrowser control: Place this control inside the TabPage in the TabControl listed above. This control will navigate to URLs entered in the Address TextBox. o Instructions: For this phase of the course project, you will be adding functionality to your web browser in addition to modifying some of the existing GUI elements. Create a new User Control: - Create a new User control that you will use in all of your tab pages, give your control a relevant name based on its purpose and functionality. Move all of the controls that you had previously added inside the tab page to your new user control (ToolStrip and BrowserControl). Add your new user control inside the tab page to replace the separate controls you removed. - Make sure your web browser's current functionality still works as expected after these modifications. - Inside your new user control, add the following to its code file: - Back links field: this will be a stack of strings (read up on stacks in .Net, Forward links field: this will be a stack of strings as well. Implement functionality for: A Refresh button: when clicked the browser will refresh the current page A Back button: . Push the current link to the top of 'Forward links' stack . Pop the new link from the 'Back links' stack, and navigate to it in the browser A Forward button: . Push the current link to the top of Back links' stack . Pop the new link from the 'forward links' stack, and navigate to it in the bro . wser In your MenuStrip control, implement the following functionality for the following menu items File-> New Tab (Ctrl + T) e Add a new instance of the new user control you created to that tab page. Set the docking property of that control to "fill". . . File->Close Current Tab (Ctrl+ W) .Close currently selected tab. e Instructions: Throughout this course, you will incrementally build a fully functioning web browser application. You will use a three-tier architecture, covered at the beginning of Module 2, to organize your solution into three logical layers. You will create a project in your solution for each of these logical layers. For this phase of the course project, you will create the project structure for your solution. Make sure you create a local Git repository for your solution so you can commit your changes regularly throughout your development. Name your solution WebBrowser. Add 3 projects to your solution: WebBrowser.UI (Windows Forms App), WebBrowser.Logic (Class Library), and WebBrowser.Data (Class Library). Commit your code after each project is added to your solution. Add the dependencies between these three projects according to the 3-tier architecture model. Reference WebBrowser.Data in WebBrowser.Logic Reference WebBrowser.Logic in WebBrowser.UI Commit your code after adding the dependencies Instructions: For this phase of the course project, you will create the User Interface for the main window in your web browser. You will be adding this new window to your WebBrowser.Ul project as the main form (delete any pre-existing forms and add a new one). Choose a meaningful name for your main form. Your new main form will contain the following controls/functionality A MenuStrip control: Your MenuStrip should contain the following items and sub-items: o File: . New Tab: (will do nothing for now) Close Current Tab: (will do nothing for now) Save Page As HTML: (will do nothing for now) Print Page: (will do nothing for now) - .Exit Web Browser: (on click will exit the program) o Tools Manage History: (will do nothing for now) Manage Bookmarks : (will do nothing for now) - o Help: About: will show a dialog box with a brief description about your browser. Include your name, student id and anything else you would like to mention about yourself as the application developer. - ToolStrip control Your ToolStrip should contain the following items: Back button: will have an icon that represents the 'go back' functionality, clicking will do nothing for now. o Forward button: will have an icon that represents the 'go forward' functionality, clicking will do nothing for now. o Refresh button (will do nothing for now) o Home button (will do nothing for now) Address TextBox: (listed below) will load the address you entered Go button: will have an icon that represents the 'go' functionality, clicking this button will perform the same behavior as when you press the Enter key in the address TextBox (load the new address in the web browser) Bookmark: will have an icon (will do nothing for now) o when you enter a URL and press Enter, the WebBrowser control o o TabControl o o Will initially have only one tab (remove any extra tabs) Inside the tab you will add your WebBrowser control . WebBrowser control: Place this control inside the TabPage in the TabControl listed above. This control will navigate to URLs entered in the Address TextBox. o Instructions: For this phase of the course project, you will be adding functionality to your web browser in addition to modifying some of the existing GUI elements. Create a new User Control: - Create a new User control that you will use in all of your tab pages, give your control a relevant name based on its purpose and functionality. Move all of the controls that you had previously added inside the tab page to your new user control (ToolStrip and BrowserControl). Add your new user control inside the tab page to replace the separate controls you removed. - Make sure your web browser's current functionality still works as expected after these modifications. - Inside your new user control, add the following to its code file: - Back links field: this will be a stack of strings (read up on stacks in .Net, Forward links field: this will be a stack of strings as well. Implement functionality for: A Refresh button: when clicked the browser will refresh the current page A Back button: . Push the current link to the top of 'Forward links' stack . Pop the new link from the 'Back links' stack, and navigate to it in the browser A Forward button: . Push the current link to the top of Back links' stack . Pop the new link from the 'forward links' stack, and navigate to it in the bro . wser In your MenuStrip control, implement the following functionality for the following menu items File-> New Tab (Ctrl + T) e Add a new instance of the new user control you created to that tab page. Set the docking property of that control to "fill". . . File->Close Current Tab (Ctrl+ W) .Close currently selected tab. e
Step by Step Solution
There are 3 Steps involved in it

Get step-by-step solutions from verified subject matter experts