

Question: This is where the question starts Please use python The Question starts where it says Question 3 Everything Before is background if you need it
This is where the question starts
Please use python
The Question starts where it says Question 3
Everything Before is background if you need it
The only code needed is where it says ### YOUR CODE HERE
The rest is tests that the code must pass
Can you please specify what is not clear about the images provided? If it is unreadable if you zoom in your browser from 100% to 150% it is visible.
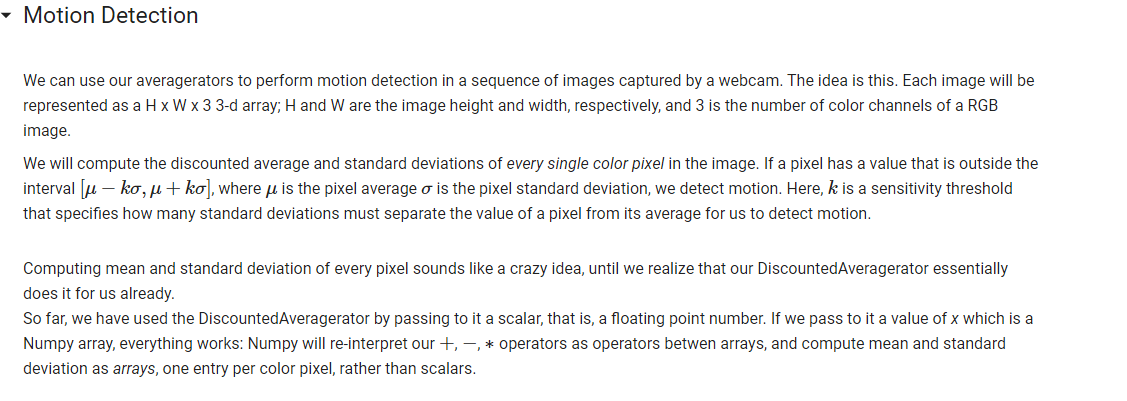
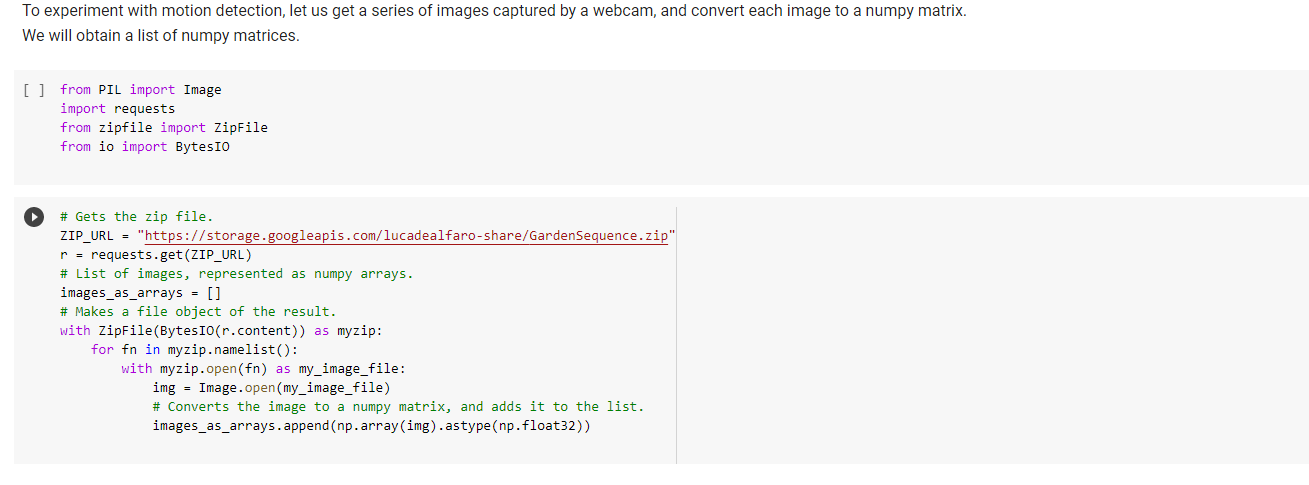
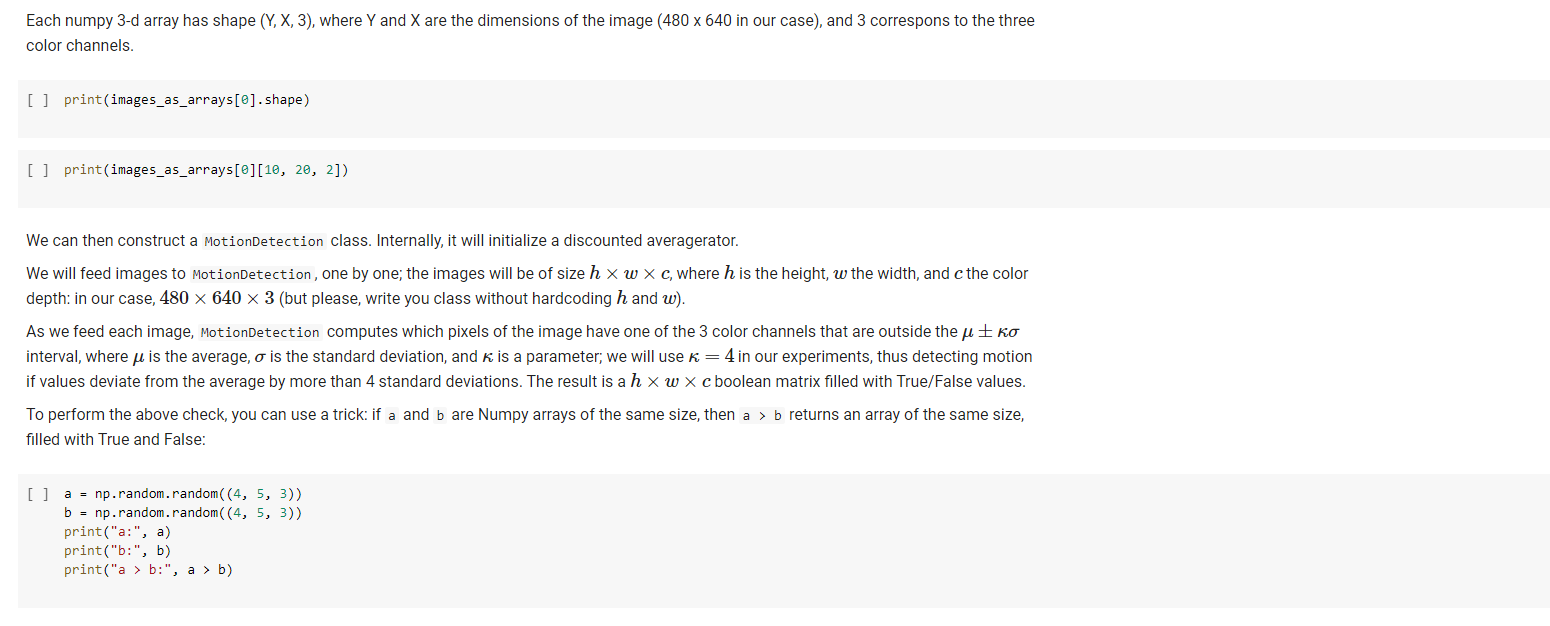
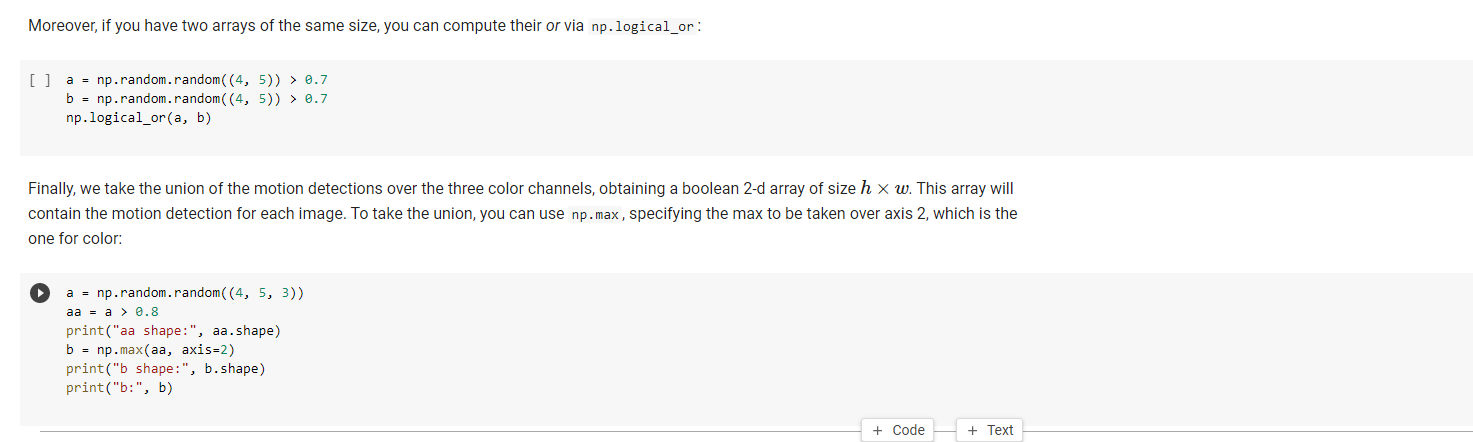
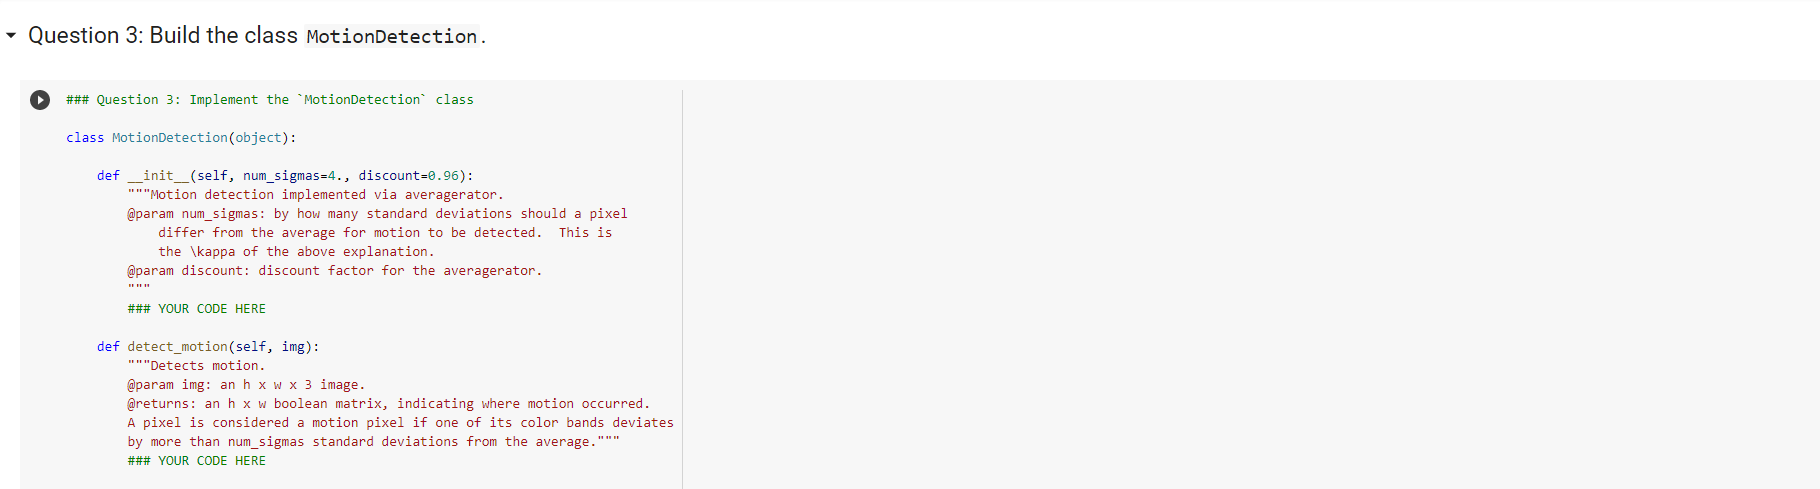
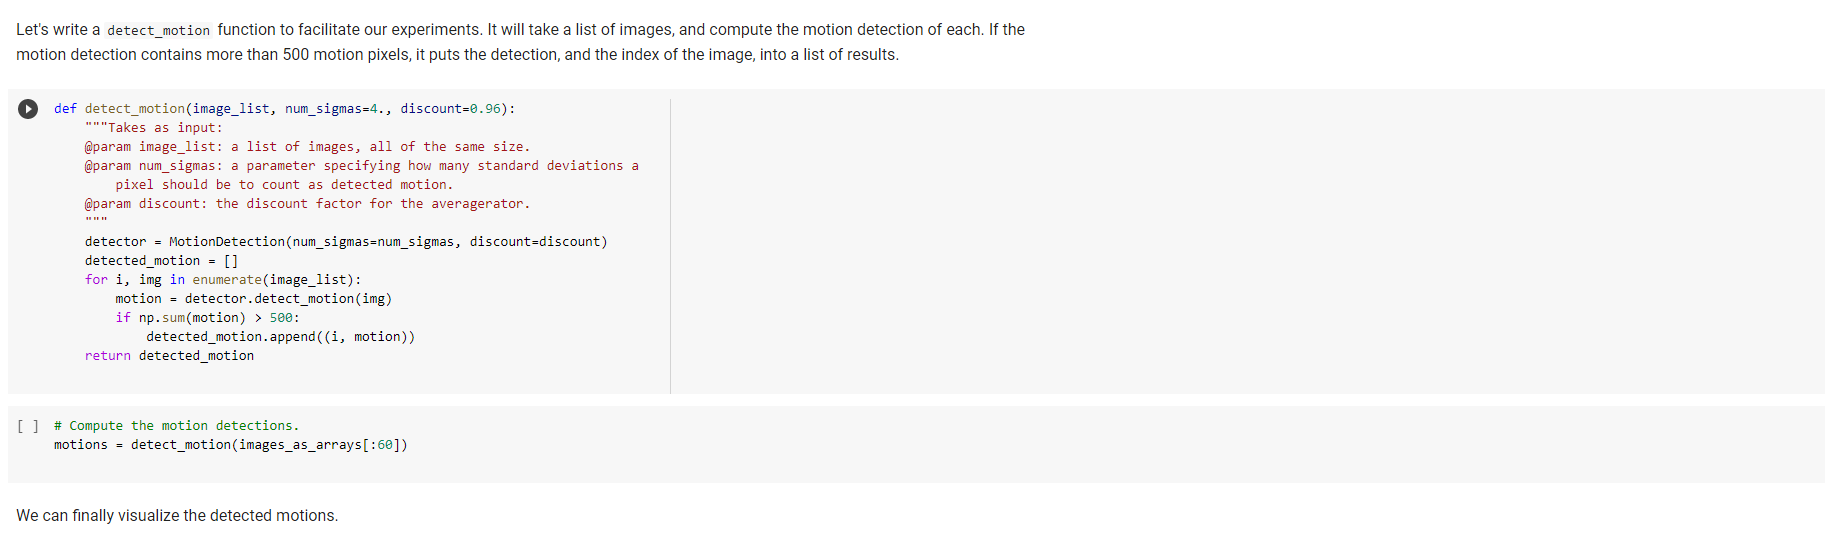
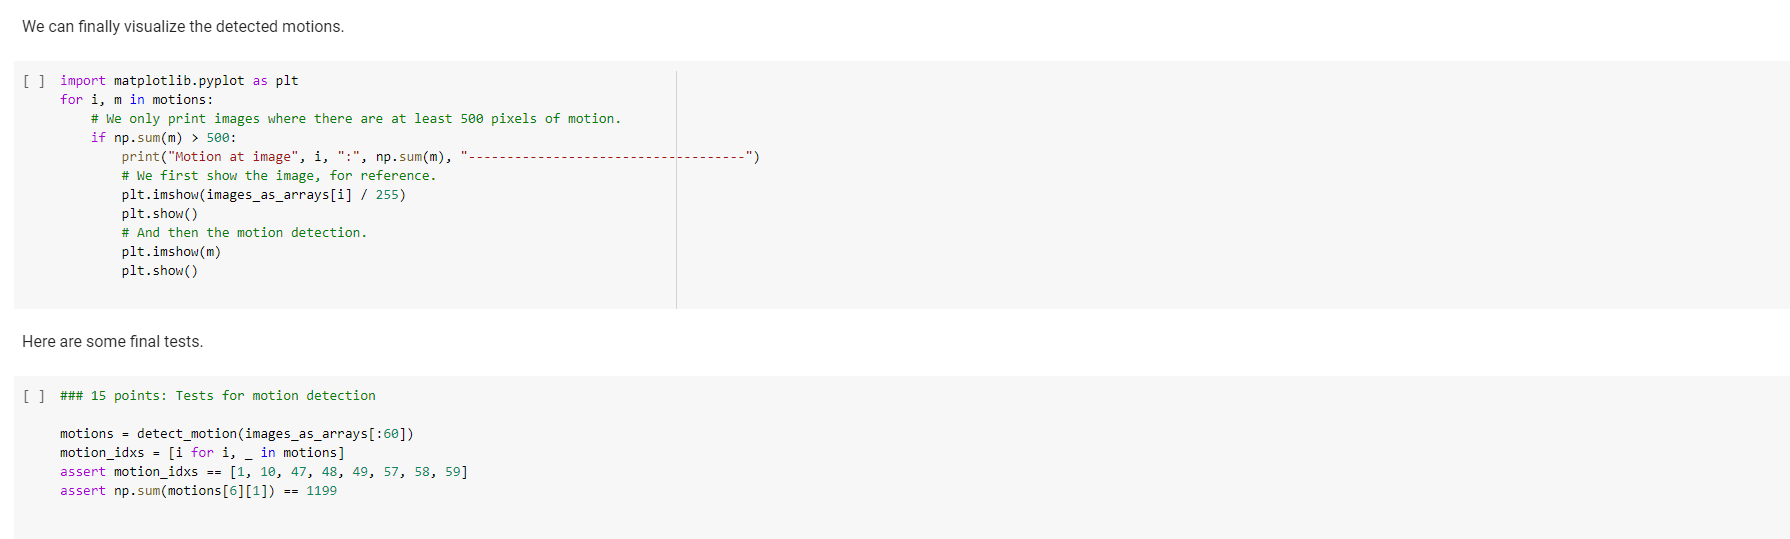
Motion Detection We can use our averagerators to perform motion detection in a sequence of images captured by a webcam. The idea is this. Each image will be represented as a H x W x 3 3-d array; H and W are the image height and width, respectively, and 3 is the number of color channels of a RGB image. We will compute the discounted average and standard deviations of every single color pixel in the image. If a pixel has a value that is outside the interval [u ko, u + ko), where u is the pixel average o is the pixel standard deviation, we detect motion. Here, k is a sensitivity threshold that specifies how many standard deviations must separate the value of a pixel from its average for us to detect motion. Computing mean and standard deviation of every pixel sounds like a crazy idea, until we realize that our DiscountedAveragerator essentially does it for us already. So far, we have used the DiscountedAveragerator by passing to it a scalar, that is, a floating point number. If we pass to it a value of x which is a Numpy array, everything works: Numpy will re-interpretour +, -, * operators as operators betwen arrays, and compute mean and standard deviation as arrays, one entry per color pixel, rather than scalars. To experiment with motion detection, let us get a series of images captured by a webcam, and convert each image to a numpy matrix. We will obtain a list of numpy matrices. [] from PIL import Image import requests from zipfile import ZipFile from io import Bytesro # Gets the zip file. ZIP_URL = "https://storage.googleapis.com/lucadealfaro-share/GardenSequence.zip" r = requests.get(ZIP_URL) # List of images, represented as numpy arrays. images_as_arrays = [] # Makes a file object of the result. with ZipFile(BytesIO(r.content)) as myzip: for fn in myzip.namelist(): with myzip.open(fn) as my_image_file: img = Image.open(my_image_file) # Converts the image to a numpy matrix, and adds it to the list. images_as_arrays.append(np.array(img).astype (np.float32)) Each numpy 3-d array has shape (Y, X, 3), where Y and X are the dimensions of the image (480 x 640 in our case), and 3 correspons to the three color channels. [] print(images_as_arrays[@].shape) [] print(images_as_arrays[@][10, 20, 2]) We can then construct a MotionDetection class. Internally, it will initialize a discounted averagerator. We will feed images to MotionDetection, one by one; the images will be of size h x W x c, where h is the height, w the width, and the color depth: in our case, 480 x 640 x 3 (but please, write you class without hardcoding h and w). As we feed each image, MotionDetection computes which pixels of the image have one of the 3 color channels that are outside the u Eko interval, where u is the average, o is the standard deviation, and K is a parameter; we will use K=4 in our experiments, thus detecting motion if values deviate from the average by more than 4 standard deviations. The result is a h x w x c boolean matrix filled with True/False values. To perform the above check, you can use a trick: if a and b are Numpy arrays of the same size, then a > b returns an array of the same size, filled with True and False: [] a = np.random.random((4, 5, 3)) b = np.random.random((4, 5, 3)) print("a:", a) print(":", b) print("a > 6:", a > b) Moreover, if you have two arrays of the same size, you can compute their or via np.logical_or: [] a = np.random.random( (4, 5)) > 0.7 b = np.random.random((4, 5)) > 0.7 np.logical_or(a, b) Finally, we take the union of the motion detections over the three color channels, obtaining a boolean 2-d array of size h x w. This array will contain the motion detection for each image. To take the union, you can use np.max, specifying the max to be taken over axis 2, which is the one for color: a = np.random.random((4, 5, 3)) aa = a > 0.8 print("aa shape:", aa.shape) b = np.max(aa, axis=2) print("b shape:", b.shape) print(":", b) + Code + Text Question 3: Build the class MotionDetection. ### Question 3: Implement the "MotionDetection class class MotionDetection (object): def _init__(self, num_sigmas=4., discount=0.96): "Motion detection implemented via averagerator. @param num_sigmas: by how many standard deviations should a pixel differ from the average for motion to be detected. This is the \kappa of the above explanation. @param discount: discount factor for the averagerator. ### YOUR CODE HERE def detect_motion(self, img): "Detects motion. @param img: an h x w x 3 image. @returns: an h x w boolean matrix, indicating where motion occurred. A pixel is considered a motion pixel if one of its color bands deviates by more than num_sigmas standard deviations from the average." ### YOUR CODE HERE Let's write a detect_motion function to facilitate our experiments. It will take a list of images, and compute the motion detection of each. If the motion detection contains more than 500 motion pixels, it puts the detection, and the index of the image, into a list of results. def detect_motion(image_list, num_sigmas=4., discount=0.96): "" "Takes as input: @param image_list: a list of images, all of the same size. @param num_sigmas: a parameter specifying how many standard deviations a pixel should be to count as detected motion. @param discount: the discount factor for the averagerator. detector = MotionDetection (num_sigmas=num_sigmas, discount=discount) detected_motion = [] for i, img in enumerate(image_list): motion = detector.detect_motion(img) if np.sum(motion) > 500: detected_motion.append((i, motion)) return detected_motion [] # Compute the motion detections. motions = detect_motion(images_as_arrays[:60]) We can finally visualize the detected motions. We can finally visualize the detected motions. ") [ ] import matplotlib.pyplot as plt for i, min motions: # We only print images where there are at least 500 pixels of motion. if np. sum(m) > 500: print("Motion at image", i, ":", np.sum(m), # We first show the image, for reference. plt.imshow(images_as_arrays[i] / 255) plt.show() # And then the motion detection. plt.imshow (m) plt.show() Here are some final tests. [] ### 15 points: Tests for motion detection motions = detect_motion(images_as_arrays [:60]) motion_idxs = [i for i, - in motions] assert motion_idxs == [1, 10, 47, 48, 49, 57, 58, 59] assert np.sum(motions[6][1]) == 1199 Motion Detection We can use our averagerators to perform motion detection in a sequence of images captured by a webcam. The idea is this. Each image will be represented as a H x W x 3 3-d array; H and W are the image height and width, respectively, and 3 is the number of color channels of a RGB image. We will compute the discounted average and standard deviations of every single color pixel in the image. If a pixel has a value that is outside the interval [u ko, u + ko), where u is the pixel average o is the pixel standard deviation, we detect motion. Here, k is a sensitivity threshold that specifies how many standard deviations must separate the value of a pixel from its average for us to detect motion. Computing mean and standard deviation of every pixel sounds like a crazy idea, until we realize that our DiscountedAveragerator essentially does it for us already. So far, we have used the DiscountedAveragerator by passing to it a scalar, that is, a floating point number. If we pass to it a value of x which is a Numpy array, everything works: Numpy will re-interpretour +, -, * operators as operators betwen arrays, and compute mean and standard deviation as arrays, one entry per color pixel, rather than scalars. To experiment with motion detection, let us get a series of images captured by a webcam, and convert each image to a numpy matrix. We will obtain a list of numpy matrices. [] from PIL import Image import requests from zipfile import ZipFile from io import Bytesro # Gets the zip file. ZIP_URL = "https://storage.googleapis.com/lucadealfaro-share/GardenSequence.zip" r = requests.get(ZIP_URL) # List of images, represented as numpy arrays. images_as_arrays = [] # Makes a file object of the result. with ZipFile(BytesIO(r.content)) as myzip: for fn in myzip.namelist(): with myzip.open(fn) as my_image_file: img = Image.open(my_image_file) # Converts the image to a numpy matrix, and adds it to the list. images_as_arrays.append(np.array(img).astype (np.float32)) Each numpy 3-d array has shape (Y, X, 3), where Y and X are the dimensions of the image (480 x 640 in our case), and 3 correspons to the three color channels. [] print(images_as_arrays[@].shape) [] print(images_as_arrays[@][10, 20, 2]) We can then construct a MotionDetection class. Internally, it will initialize a discounted averagerator. We will feed images to MotionDetection, one by one; the images will be of size h x W x c, where h is the height, w the width, and the color depth: in our case, 480 x 640 x 3 (but please, write you class without hardcoding h and w). As we feed each image, MotionDetection computes which pixels of the image have one of the 3 color channels that are outside the u Eko interval, where u is the average, o is the standard deviation, and K is a parameter; we will use K=4 in our experiments, thus detecting motion if values deviate from the average by more than 4 standard deviations. The result is a h x w x c boolean matrix filled with True/False values. To perform the above check, you can use a trick: if a and b are Numpy arrays of the same size, then a > b returns an array of the same size, filled with True and False: [] a = np.random.random((4, 5, 3)) b = np.random.random((4, 5, 3)) print("a:", a) print(":", b) print("a > 6:", a > b) Moreover, if you have two arrays of the same size, you can compute their or via np.logical_or: [] a = np.random.random( (4, 5)) > 0.7 b = np.random.random((4, 5)) > 0.7 np.logical_or(a, b) Finally, we take the union of the motion detections over the three color channels, obtaining a boolean 2-d array of size h x w. This array will contain the motion detection for each image. To take the union, you can use np.max, specifying the max to be taken over axis 2, which is the one for color: a = np.random.random((4, 5, 3)) aa = a > 0.8 print("aa shape:", aa.shape) b = np.max(aa, axis=2) print("b shape:", b.shape) print(":", b) + Code + Text Question 3: Build the class MotionDetection. ### Question 3: Implement the "MotionDetection class class MotionDetection (object): def _init__(self, num_sigmas=4., discount=0.96): "Motion detection implemented via averagerator. @param num_sigmas: by how many standard deviations should a pixel differ from the average for motion to be detected. This is the \kappa of the above explanation. @param discount: discount factor for the averagerator. ### YOUR CODE HERE def detect_motion(self, img): "Detects motion. @param img: an h x w x 3 image. @returns: an h x w boolean matrix, indicating where motion occurred. A pixel is considered a motion pixel if one of its color bands deviates by more than num_sigmas standard deviations from the average." ### YOUR CODE HERE Let's write a detect_motion function to facilitate our experiments. It will take a list of images, and compute the motion detection of each. If the motion detection contains more than 500 motion pixels, it puts the detection, and the index of the image, into a list of results. def detect_motion(image_list, num_sigmas=4., discount=0.96): "" "Takes as input: @param image_list: a list of images, all of the same size. @param num_sigmas: a parameter specifying how many standard deviations a pixel should be to count as detected motion. @param discount: the discount factor for the averagerator. detector = MotionDetection (num_sigmas=num_sigmas, discount=discount) detected_motion = [] for i, img in enumerate(image_list): motion = detector.detect_motion(img) if np.sum(motion) > 500: detected_motion.append((i, motion)) return detected_motion [] # Compute the motion detections. motions = detect_motion(images_as_arrays[:60]) We can finally visualize the detected motions. We can finally visualize the detected motions. ") [ ] import matplotlib.pyplot as plt for i, min motions: # We only print images where there are at least 500 pixels of motion. if np. sum(m) > 500: print("Motion at image", i, ":", np.sum(m), # We first show the image, for reference. plt.imshow(images_as_arrays[i] / 255) plt.show() # And then the motion detection. plt.imshow (m) plt.show() Here are some final tests. [] ### 15 points: Tests for motion detection motions = detect_motion(images_as_arrays [:60]) motion_idxs = [i for i, - in motions] assert motion_idxs == [1, 10, 47, 48, 49, 57, 58, 59] assert np.sum(motions[6][1]) == 1199
Step by Step Solution
There are 3 Steps involved in it

Get step-by-step solutions from verified subject matter experts