

Question: USING THE Schedule Provide CREATE A GANTT CHART USING EXCEL AND UPLOAD A PICTURE OF THE CHART PLEASE USE THE SCHEDULE PROVIDED 1. Design Phase:
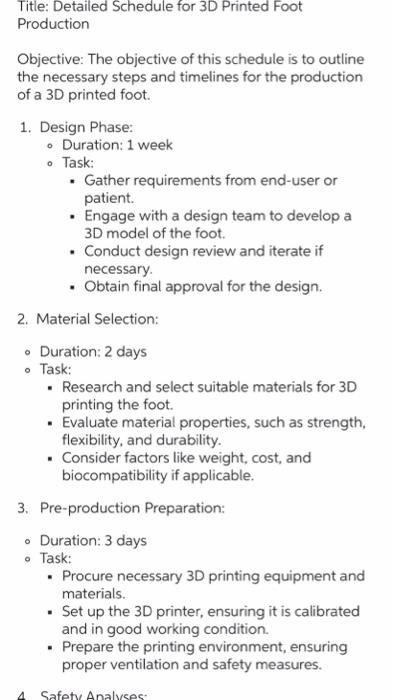
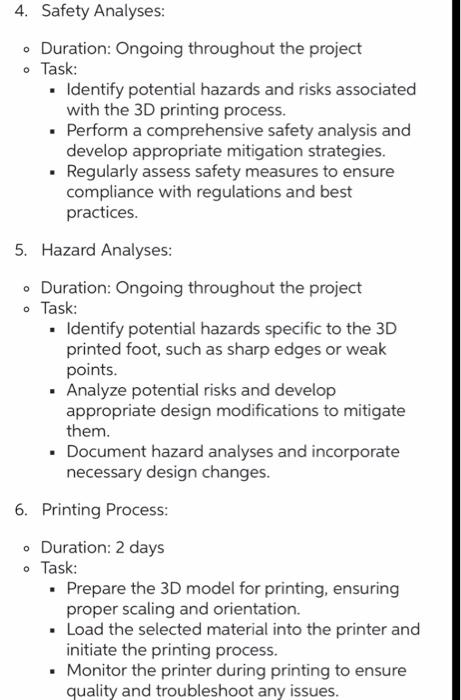
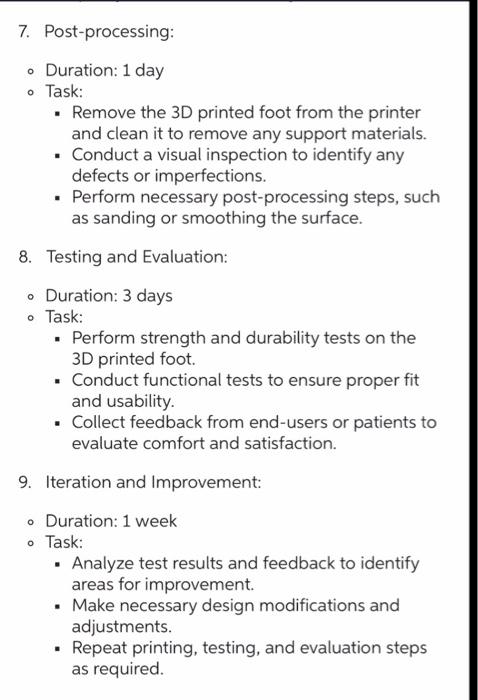
1. Design Phase: - Duration: 1 week - Task: - Gather requirements from end-user or patient. - Engage with a design team to develop a 3D model of the foot. - Conduct design review and iterate if necessary. - Obtain final approval for the design. 2. Material Selection: - Duration: 2 days - Task: - Research and select suitable materials for 3D printing the foot. - Evaluate material properties, such as strength, flexibility, and durability. - Consider factors like weight, cost, and biocompatibility if applicable. 3. Pre-production Preparation: - Duration: 3 days - Task: - Procure necessary 3D printing equipment and materials. - Set up the 3D printer, ensuring it is calibrated and in good working condition. - Prepare the printing environment, ensuring proper ventilation and safety measures. 4. Safety Analyses: - Duration: Ongoing throughout the project - Task: - Identify potential hazards and risks associated with the 3D printing process. - Perform a comprehensive safety analysis and develop appropriate mitigation strategies. - Regularly assess safety measures to ensure compliance with regulations and best practices. 5. Hazard Analyses: - Duration: Ongoing throughout the project - Task: - Identify potential hazards specific to the 3D printed foot, such as sharp edges or weak points. - Analyze potential risks and develop appropriate design modifications to mitigate them. - Document hazard analyses and incorporate necessary design changes. 6. Printing Process: - Duration: 2 days - Task: - Prepare the 3D model for printing, ensuring proper scaling and orientation. - Load the selected material into the printer and initiate the printing process. - Monitor the printer during printing to ensure quality and troubleshoot any issues. 7. Post-processing: - Duration: 1 day - Task: - Remove the 3D printed foot from the printer and clean it to remove any support materials. - Conduct a visual inspection to identify any defects or imperfections. - Perform necessary post-processing steps, such as sanding or smoothing the surface. 8. Testing and Evaluation: - Duration: 3 days - Task: - Perform strength and durability tests on the 3D printed foot. - Conduct functional tests to ensure proper fit and usability. - Collect feedback from end-users or patients to evaluate comfort and satisfaction. 9. Iteration and Improvement: - Duration: 1 week - Task: - Analyze test results and feedback to identify areas for improvement. - Make necessary design modifications and adjustments. - Repeat printing, testing, and evaluation steps as required
Step by Step Solution
There are 3 Steps involved in it

Get step-by-step solutions from verified subject matter experts