

Question: 1) If you have not set up your work environment to access csegrid' serwer. Refer to CSE_Grid_Tutorial.pdf document loaded in the Week 0 and 1
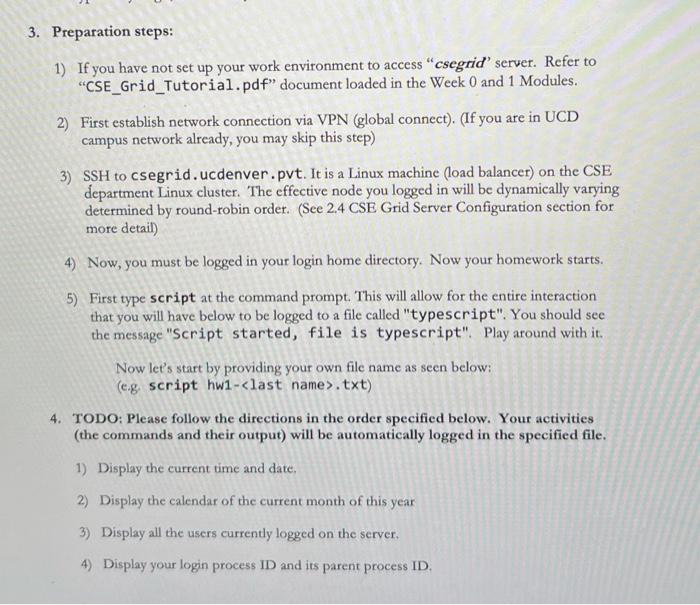
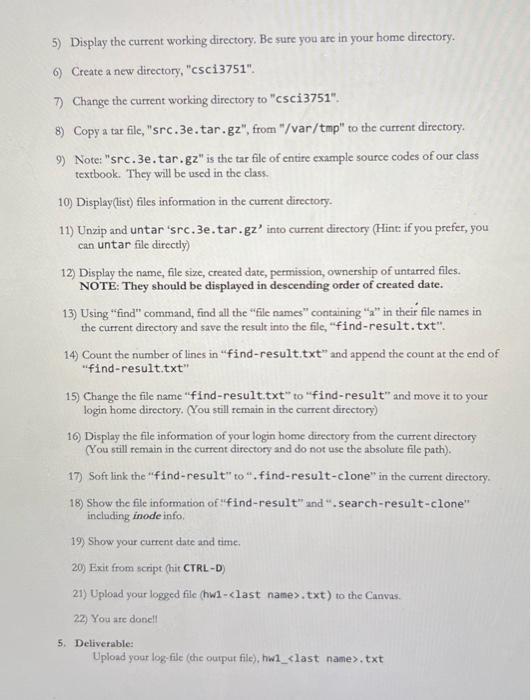
1) If you have not set up your work environment to access "csegrid' serwer. Refer to "CSE_Grid_Tutorial.pdf" document loaded in the Week 0 and 1 Modules. 2) First establish network connection via VPN (global connect). (If you are in UCD campus network already, you may skip this step) 3) SSH to csegrid. ucdenver.pvt. It is a Linux machine (load balancer) on the CSE department Linux cluster. The effective node you logged in will be dynamically varying determined by round-robin order. (See 2.4CSE Grid Server Configuration section for more detail) 4) Now, you must be logged in your login home directory. Now your homework starts. 5) First type script at the command prompt. This will allow for the entire interaction that you will have below to be logged to a file called "typescript". You should see the message "Script started, file is typescript". Play around with it. Now let's start by providing your own file name as seen below: (e.g. script hw1-. txt) 4. TODO: Please follow the directions in the order specified below. Your activities (the commands and their output) will be automatically logged in the specified file. 1) Display the current time and date, 2) Display the calendar of the current month of this year 3) Display all the users currently logged on the server. 4) Display your login process ID and its parent process ID. 5) Display the current working directory. Be sure you are in your home directory. 6) Create a new directory, "csci 3751". 7) Change the current working directory to "csci3751". 8) Copy a tar file, "sre. 3e.tar. gz", from "/var/tmp" to the current directory. 9) Note: "src. 3e.tar.gz" is the tar file of entire example source codes of our class textbook. They will be used in the class. 10) Display(list) files information in the current directory. 11) Unzip and untar 'src. 3e.tar. gz into current directory (Hint if you prefer, you can untar file directly) 12) Display the name, file size, created date, permission, ownership of untarred files. NOTE: They should be displayed in descending order of created date. 13) Using "find" command, find all the "file names" containing " 2 " in their file names in the current directory and save the result into the file, "find-result. txt". 14) Count the number of lines in "find-result. txt" and append the count at the end of "find-result.txt" 15) Change the file name "find-result.txt" to "find-result" and move it to your login home directory. (You still remain in the current directory) 16) Display the file information of your login home directory from the current directory (You still remain in the current directory and do not use the absolute file path). 17) Soft link the "find-result" to ", find-result-clone" in the current directory. 18) Show the file information of "find-result" and ".search-result-clone" including inode info. 19) Show your current date and time. 20) Exit from script (hit CTRL-D) 21) Upload your logged file (hw1-clast names, t txt) to the Canv2s. 22) You are donell 5. Deliverable: Upload your log-file (che output file), hw1_, txt
Step by Step Solution
There are 3 Steps involved in it

Get step-by-step solutions from verified subject matter experts