

Question: 2 . 3 - Implementing our mathematical expression Now, we want to implement the mathemati 2 - Procedure 2 . 1 - Reading and storing
Implementing our mathematical expression
Now, we want to implement the mathemati Procedure
Reading and storing our input value
Reading our input information in Python using Arduino depends on which input device we use. In todays lab, we are using an analog sensor the light sensor It can output readings in the range of There are no units for the raw sensor measurement. We will use the output readings to control the intensity of the RGB LCD screen.
First, let us read the light sensor by implementing the statement:
analogreadpin
where pin is the number of the analog port to which the device is connected.
This reading that was shown on the screen is not stored anywhere. We are only reading the position at that particular time and printing it Therefore, if we want to use this value in our mathematical expression, we need to store it To store information returned from a function, we need to precede the function call with a variable name and assignment operator. For example, we can store values in a variable as follows
Age
secondsinday
Given this information, store the input device readings in a variable.
Printing to the RGB screen
To print the value directly to the RGB LCD screen, we can call the following function with the variable name directly, without quotation marks. However, if we would like to print a sentence with the readings, we can use the following:
rgblcdprintfLight readings: l
Implementing our mathematical expression
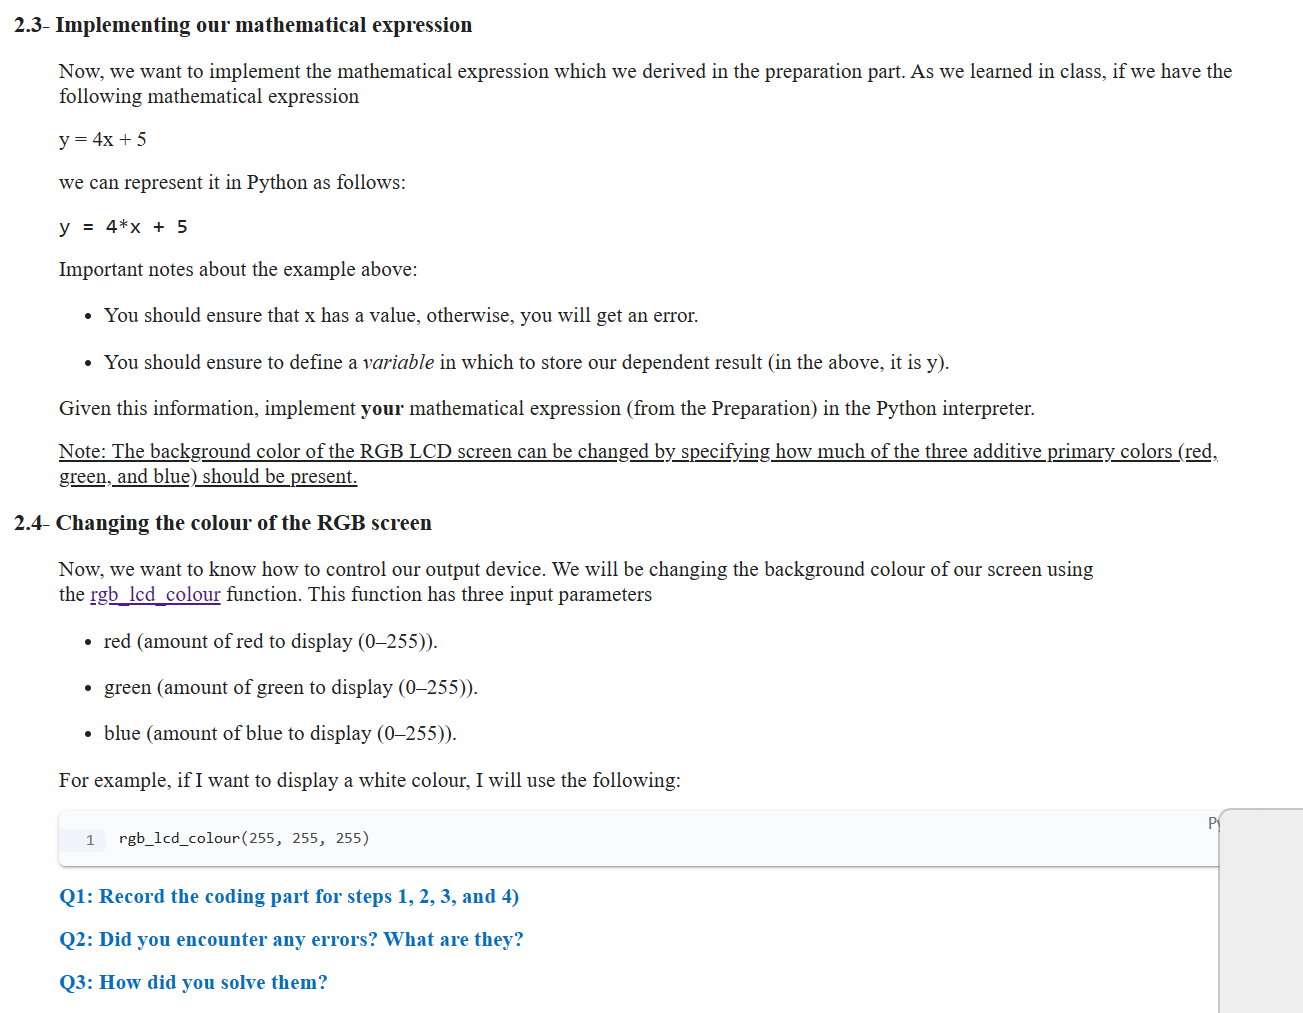
Now, we want to implement the mathematical expression which we derived in the preparation part. As we learned in class, if we have the following mathematical expression
y x
we can represent it in Python as follows:
y x
Important notes about the example above:
You should ensure that x has a value, otherwise, you will get an error.
You should ensure to define a variable in which to store our dependent result in the above, it is y
Given this information, implement your mathematical expression from the Preparation in the Python interpreter.
Note: The background color of the RGB LCD screen can be changed by specifying how much of the three additive primary colors red green, and blue should be present.
Changing the colour of the RGB screen
Now, we want to know how to control our output device. We will be changing the background colour of our screen using the rgblcdcolour function. This function has three input parameters
red amount of red to display
green amount of green to display
blue amount of blue to display
For example, if I want to display a white colour, I will use the following:
rgblcdcolour
Q: Record the coding part for steps and
Q: Did you encounter any errors? What are they?
Q: How did you solve them?
Lets make things more fun!
Using a similar way of mapping the output of an analog sensor to colors, lets work with more variations!
RGB LCD
Instead of the light intensity automation feature, here we are looking into a colour picker feature. This can be accomplished using a different analog sensor the rotary dial. The readings range of the rotary dial sensor is between and integer values and represent the extreme ends of the sensors position all the way to the left or all the way to the right We can read the dial output by using the same function:
analogreadpin
The pin here would be different, it is the number of the analog port to which the dial is connected.
Since the range of the input sensor is different, we will need to reimplement the mapping expression that we got during the preparation.
Q: Modify the expression and note it in your logbook
Our aim in this step is that, as we change the positions of the dial, we observe the colour change in the LCD screen, following the RGB color wheel pattern.
To simplify this step, we will not walk through the whole color wheel, as this will require changing red, green, and blue at different segmentscombinations Therefore, choose a quarter that you would like to observe, and move on with the implementation from there!
For example, if I wanted to observe the first segment ie red to yellow I will call the function while fixing red and blue ranges, and vary the green colour, as can be observed in the figure above. The function call will look like this: rgblcdcolour green
Q: In your logbook record the chosen segment and note which colours should remain constant according to the figure above
Q: In your logbook record the coding part for step
Q: Did you encounter any errors? What are they?
Q: How did you solve them?
Testing
We reached the final step of our implementation! Now we want to test our code thoroughly to ensure that the implementation is correct. Here, we will use the test plan devised during Preparation to determine if our Python code does what is expected.
We will do the follow
Step by Step Solution
There are 3 Steps involved in it
1 Expert Approved Answer
Step: 1 Unlock

Question Has Been Solved by an Expert!
Get step-by-step solutions from verified subject matter experts
Step: 2 Unlock
Step: 3 Unlock