

Question: Exercise 3: Interactive Mr. Potato Head (10 pts) Drag the Parts onto Mr. Potato Head jQuery Mr Potato Head Before starting this final component of
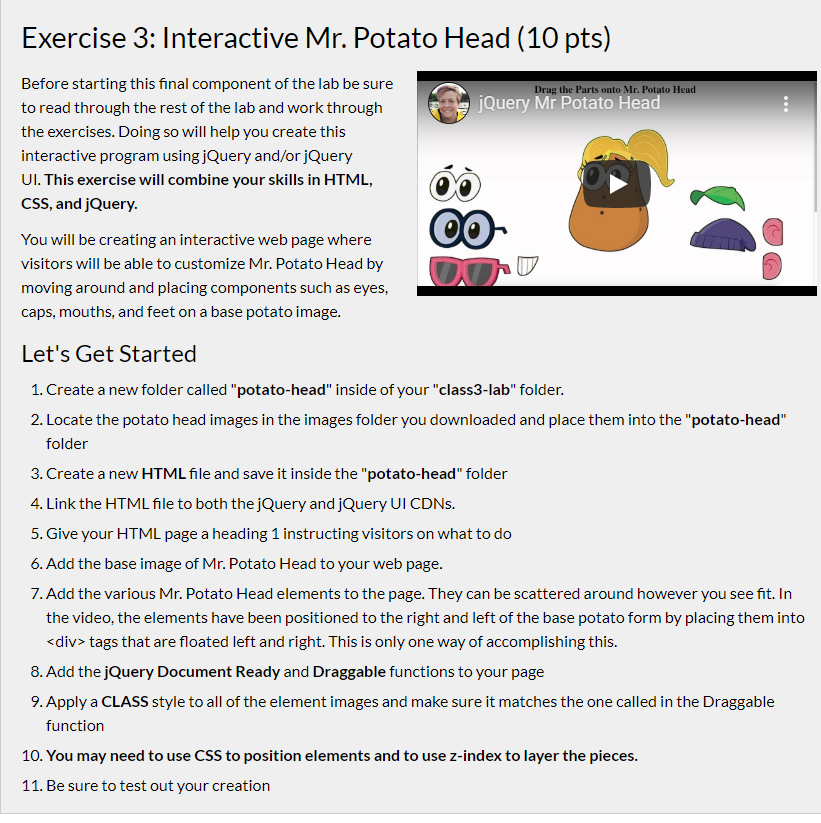
Exercise 3: Interactive Mr. Potato Head (10 pts) Drag the Parts onto Mr. Potato Head jQuery Mr Potato Head Before starting this final component of the lab be sure to read through the rest of the lab and work through the exercises. Doing so will help you create this interactive program using jQuery and/or jQuery UI. This exercise will combine your skills in HTML, CSS, and jQuery. CO- You will be creating an interactive web page where visitors will be able to customize Mr. Potato Head by moving around and placing components such as eyes, caps, mouths, and feet on a base potato image. ON Let's Get Started 1. Create a new folder called "potato-head" inside of your "class3-lab" folder. 2. Locate the potato head images in the images folder you downloaded and place them into the "potato-head" folder 3. Create a new HTML file and save it inside the "potato-head" folder 4. Link the HTML file to both the jQuery and jQuery UI CDNs. 5. Give your HTML page a heading 1 instructing visitors on what to do 6. Add the base image of Mr. Potato Head to your web page. 7. Add the various Mr. Potato Head elements to the page. They can be scattered around however you see fit. In the video, the elements have been positioned to the right and left of the base potato form by placing them into
Step by Step Solution
There are 3 Steps involved in it

Get step-by-step solutions from verified subject matter experts