

Question: please copy and paste the output So i can copy and paste it to my own txt file. ty will give thumbs up if done
please copy and paste the output So i can copy and paste it to my own txt file. ty will give thumbs up if done correctly :)

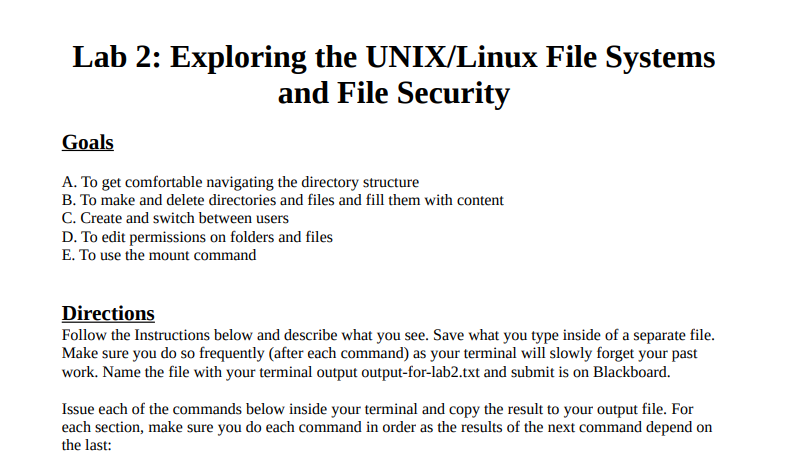
NAME CIS 440 Unix Spring 2021 Lab 2 G. TO USE THE MOUNT COMMAND Insert a USB stick, harddrive, or other storage device into your computer. In modern Linux systems, the drive will usually automatically be mounted and recognized. It will be visible in either /mnt or /media. Sometimes devices do not automatically mount, or sometimes we would like them to be mounted in specific locations on the filesystem. In these cases, there is the mount command. For now, safely unplug the device. 1. Before doing anything else, make sure the device you are going to mount is not plugged into your machine. cd to /dev and perform an Is command. Take special note of the devices available. In particular take note of the devices that begin with the letters 'sd'. These are usually file representations of storage devices attached to the computer. The names of these devices are usually things like: sda, sdal, sda2, sdb, sdb1, sdc, etc. The main physical representation of the device is represented by the file without a number at the end (sda, sdb, sdc). Each partition on a respective physical device is represented by the other files. So for instance, if the physical device sda has two partitions, they will be represented as files sdal and sda2. When you plug 2. Now plug in your device and ls /dev again. Take note of any new devices. It is okay if you don't notice a change, you can simply try again by disonnecting your device. And repeating steps one and two. You should see a new class of sd devices such as (sdc, sdc1...). If you do, one of these devices files is what we will be mounting (one with a number at the end). 3. From inside your user's home folder, create a new directory. Name it my-stuff. Make sure you do not put anything inside my stuff. We are going to be mounting your device sdx1 (where x is the letter of the drive and 1 is the partition number, you should replace box x and 1 with the values relevant to your machine) onto the directory my-stuff. Here is the command: mount /dev/sdx1 /home/yourUsername/my-stuff 4. If you did not receive any error messages, you should now be able to cd into my-stuff and see the contents of your drive. 5. When you are finished playing around in your device, cd out of that directory. To unmount the device, you will type the following command: umount /home/yourUsername/my-stuff Lab 2: Exploring the UNIX/Linux File Systems and File Security Goals A. To get comfortable navigating the directory structure B. To make and delete directories and files and fill them with content C. Create and switch between users D. To edit permissions on folders and files E. To use the mount command Directions Follow the Instructions below and describe what you see. Save what you type inside of a separate file. Make sure you do so frequently (after each command) as your terminal will slowly forget your past work. Name the file with your terminal output output-for-lab2.txt and submit is on Blackboard. Issue each of the commands below inside your terminal and copy the result to your output file. For each section, make sure you do each command in order as the results of the next command depend on the last: NAME CIS 440 Unix Spring 2021 Lab 2 G. TO USE THE MOUNT COMMAND Insert a USB stick, harddrive, or other storage device into your computer. In modern Linux systems, the drive will usually automatically be mounted and recognized. It will be visible in either /mnt or /media. Sometimes devices do not automatically mount, or sometimes we would like them to be mounted in specific locations on the filesystem. In these cases, there is the mount command. For now, safely unplug the device. 1. Before doing anything else, make sure the device you are going to mount is not plugged into your machine. cd to /dev and perform an Is command. Take special note of the devices available. In particular take note of the devices that begin with the letters 'sd'. These are usually file representations of storage devices attached to the computer. The names of these devices are usually things like: sda, sdal, sda2, sdb, sdb1, sdc, etc. The main physical representation of the device is represented by the file without a number at the end (sda, sdb, sdc). Each partition on a respective physical device is represented by the other files. So for instance, if the physical device sda has two partitions, they will be represented as files sdal and sda2. When you plug 2. Now plug in your device and ls /dev again. Take note of any new devices. It is okay if you don't notice a change, you can simply try again by disonnecting your device. And repeating steps one and two. You should see a new class of sd devices such as (sdc, sdc1...). If you do, one of these devices files is what we will be mounting (one with a number at the end). 3. From inside your user's home folder, create a new directory. Name it my-stuff. Make sure you do not put anything inside my stuff. We are going to be mounting your device sdx1 (where x is the letter of the drive and 1 is the partition number, you should replace box x and 1 with the values relevant to your machine) onto the directory my-stuff. Here is the command: mount /dev/sdx1 /home/yourUsername/my-stuff 4. If you did not receive any error messages, you should now be able to cd into my-stuff and see the contents of your drive. 5. When you are finished playing around in your device, cd out of that directory. To unmount the device, you will type the following command: umount /home/yourUsername/my-stuff Lab 2: Exploring the UNIX/Linux File Systems and File Security Goals A. To get comfortable navigating the directory structure B. To make and delete directories and files and fill them with content C. Create and switch between users D. To edit permissions on folders and files E. To use the mount command Directions Follow the Instructions below and describe what you see. Save what you type inside of a separate file. Make sure you do so frequently (after each command) as your terminal will slowly forget your past work. Name the file with your terminal output output-for-lab2.txt and submit is on Blackboard. Issue each of the commands below inside your terminal and copy the result to your output file. For each section, make sure you do each command in order as the results of the next command depend on the last
Step by Step Solution
There are 3 Steps involved in it

Get step-by-step solutions from verified subject matter experts