

Question: Please help, extremely confused. Please use Java. public interface Filter { /** * Modify the image according to your algorithm * * @param theImage The
Please help, extremely confused. Please use Java.
public interface Filter { /** * Modify the image according to your algorithm * * @param theImage The image to modify */ void filter(PixelImage theImage); } public class SnapShopConfiguration { /** * Method to configure the SnapShop. Call methods like addFilter * and setDefaultFilename here. * @param theShop The application to configure */ public static void configure(SnapShop theShop) { theShop.setDefaultFilename(""); theShop.addFlipHorizontalFilter(new FlipHorizontalFilter()); theShop.addFlipVerticalFilter(new FlipVerticalFilter()); // theShop.addGrayScale1Filter(null); // theShop.addGrayScale2Filter(null); // theShop.addGaussianFilter(null); // theShop.addLaplacianFilter(null); // theShop.addUnsharpMaskingFilter(null); // theShop.addEdgyFilter(null); // theShop.addRotateClockwiseFilter(null); // theShop.addRotateCounterClockwiseFilter(null); } }
public class SnapShop { protected JFrame win; private FileLoader fl; private FilterButtons fb; private ImagePanel ip; private RenderingDialog rd; /** * Constructor for objects of class SnapShop */ public SnapShop() { win = new JFrame("CSC 143 - SnapShop"); // Create all the necessary components and add them to the frame ip = new ImagePanel(this); win.add(ip, BorderLayout.CENTER); fl = new FileLoader(this); win.add(fl, BorderLayout.NORTH); fb = new FilterButtons(this); win.add(fb, BorderLayout.WEST); rd = new RenderingDialog(win); SnapShopConfiguration.configure(this); win.setDefaultCloseOperation(JFrame.DISPOSE_ON_CLOSE); win.pack(); win.setVisible(true); } /** * Add a filter to the SnapShop GUI to flip the image horizontally. * Creates a button and links it to the filter. * @param f The filter to apply */ public void addFlipHorizontalFilter(Filter f) { fb.addFilter(f, "Flip Horizontal"); } /** * Add a filter to the SnapShop GUI to flip the image vertically. * Creates a button and links it to the filter. * @param f The filter to apply */ public void addFlipVerticalFilter(Filter f) { fb.addFilter(f, "Flip Vertical"); } /** * Add a filter to the SnapShop GUI to convert to gray scale 1. * Creates a button and links it to the filter. * @param f The filter to apply */ public void addGrayScale1Filter(Filter f) { fb.addFilter(f, "Gray Scale 1"); } /** * Add a filter to the SnapShop GUI to convert to gray scale 2. * Creates a button and links it to the filter. * @param f The filter to apply */ public void addGrayScale2Filter(Filter f) { fb.addFilter(f, "Gray Scale 2"); } /** * Add a filter to the SnapShop GUI to apply Gaussian smoothing. * Creates a button and links it to the filter. * @param f The filter to apply */ public void addGaussianFilter(Filter f) { fb.addFilter(f, "Gaussian"); } /** * Add a filter to the SnapShop GUI to apply a Laplacian transform. * Creates a button and links it to the filter. * @param f The filter to apply */ public void addLaplacianFilter(Filter f) { fb.addFilter(f, "Laplacian"); } /** * Add a filter to the SnapShop GUI to apply unsharp masking. * Creates a button and links it to the filter. * @param f The filter to apply */ public void addUnsharpMaskingFilter(Filter f) { fb.addFilter(f, "Unsharp Masking"); } /** * Add a filter to the SnapShop GUI to apply an "edgy" transform. * Creates a button and links it to the filter. * @param f The filter to apply */ public void addEdgyFilter(Filter f) { fb.addFilter(f, "\"Edgy\""); } /** * Add a filter to the SnapShop GUI to rotate the image clockwise. * Creates a button and links it to the filter. * @param f The filter to apply */ public void addRotateClockwiseFilter(Filter f) { fb.addFilter(f, "Rotate Clockwise"); } /** * Add a filter to the SnapShop GUI to rotate the image counter- * clockwise. * Creates a button and links it to the filter. * @param f The filter to apply */ public void addRotateCounterClockwiseFilter(Filter f) { fb.addFilter(f, "Rotate Counter-Clockwise"); } /** * Set the default filename to appear in the box * @param filename The filename */ public void setDefaultFilename(String filename) { fl.setDefaultFilename(filename); } /** * Open a SnapShop */ public static void main(String[] args) { SnapShop s = new SnapShop(); } }
public class Pixel { public static final int RED = 0, GREEN = 1, BLUE = 2; // RGB color values for this pixel (0-255) public int[] rgb; /** * Constructor for objects of class Pixel * Initializes the pixel values; * @param red value for red portion of pixel * @param green value for green portion of pixel * @param blue value for blue portion of pixel * @throws IllegalArgumentException if any of the parameters * are not within the bounds of 0 - 255 */ public Pixel(int red, int green, int blue) { if ((red 255) || (green 255) || (blue 255)) { throw new IllegalArgumentException("bad RGB value for Pixel"); } rgb = new int[3]; rgb[RED] = red; rgb[GREEN] = green; rgb[BLUE] = blue; } }
public class PixelImage { private BufferedImage myImage; private int width; private int height; /** * Construct a PixelImage from a Java BufferedImage * @param bi The image */ public PixelImage(BufferedImage bi) { // initialise instance variables this.myImage = bi; this.width = bi.getWidth(); this.height = bi.getHeight(); } /** * Return the width of the image */ public int getWidth() { return this.width; } /** * Return the height of the image */ public int getHeight() { return this.height; } /** * Return the image's pixel data as an array of Pixels. * @return The array of pixels */ public Pixel[][] getData() { /* The Raster has origin 0,0 , so the size of the * array is [width][height], where width and height are the * dimensions of the Raster */ Raster r = this.myImage.getRaster(); Pixel[][] data = new Pixel[r.getHeight()][r.getWidth()]; int[] samples = new int[3]; // Translates from java image data to Pixel data for (int row = 0; row
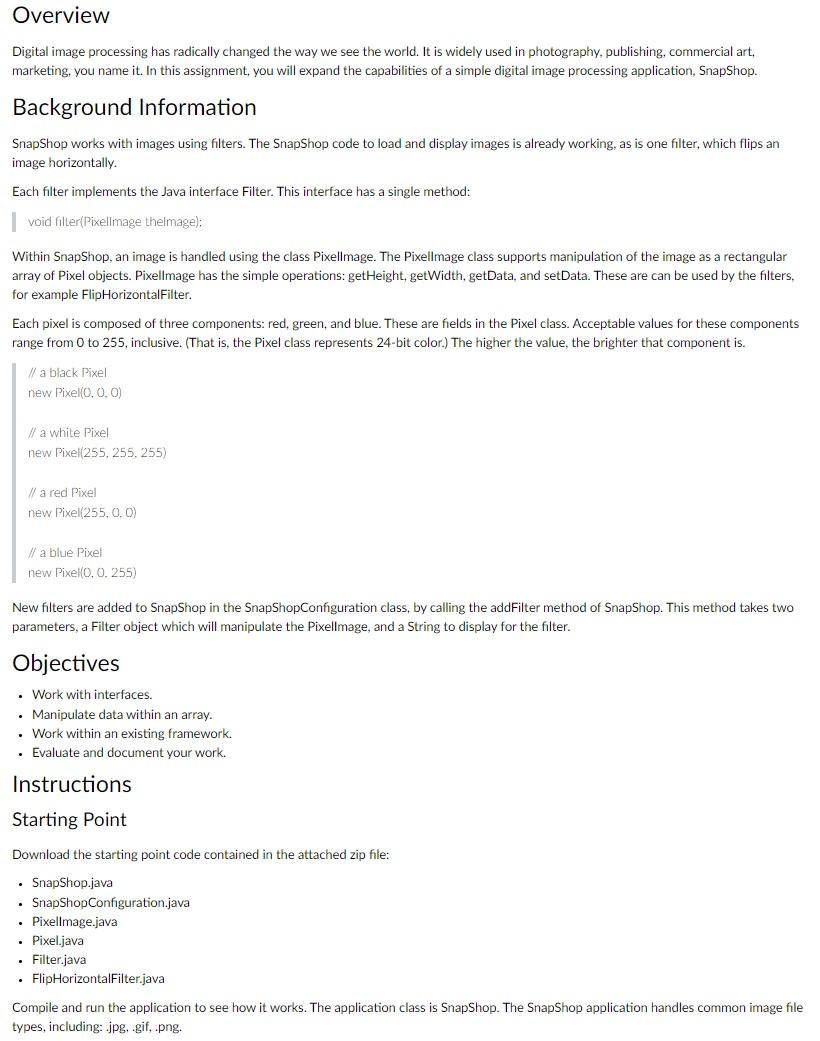
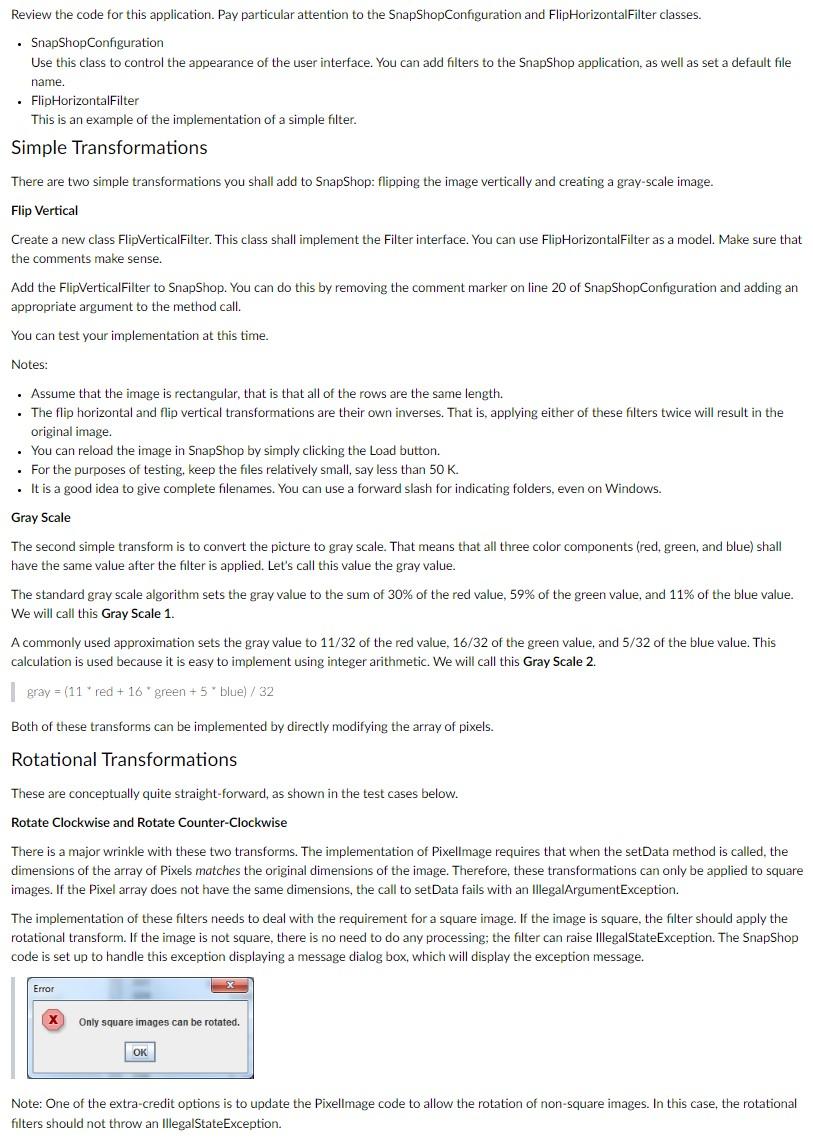
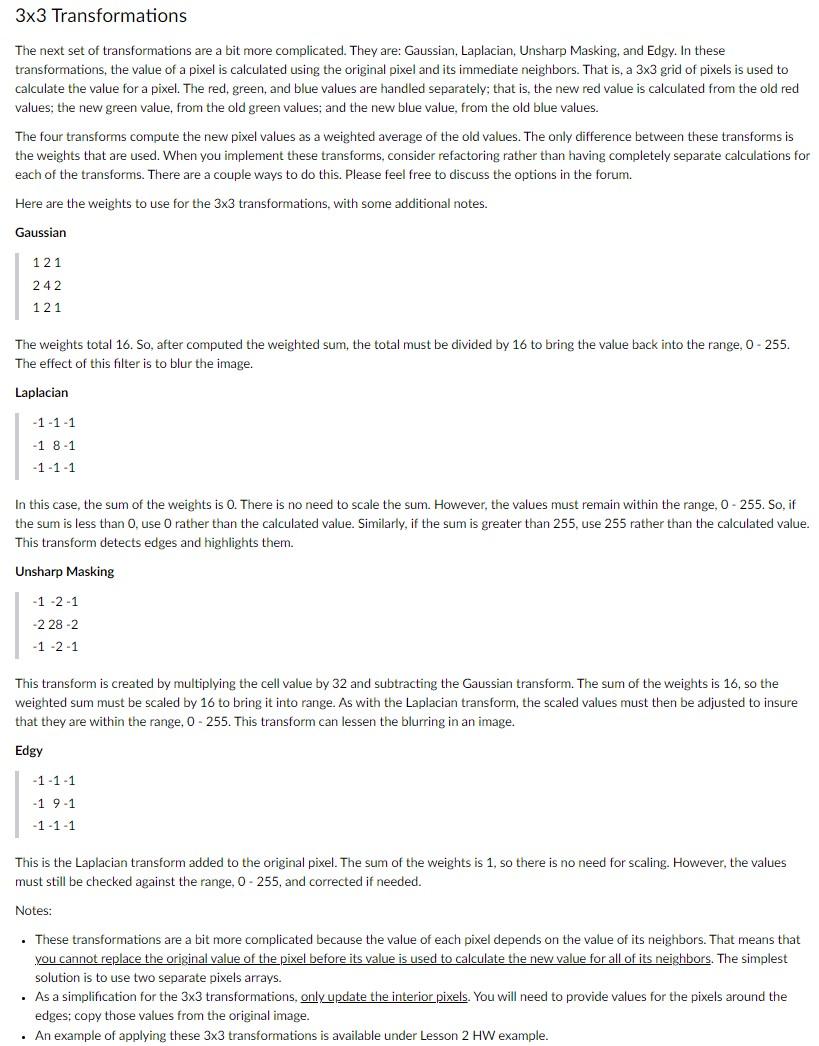
Overview Digital image processing has radically changed the way we see the world. It is widely used in photography, publishing, commercial art, marketing, you name it. In this assignment, you will expand the capabilities of a simple digital image processing application, SnapShop. Background Information SnapShop works with images using filters. The SnapShop code to load and display images is already working, as is one filter, which flips an image horizontally. Each filter implements the Java interface Filter. This interface has a single method: I void filler(Pixellmage thelmage); Within SnapShop, an image is handled using the class Pixellmage. The Pixellmage class supports manipulation of the image as a rectangular array of Pixel objects. Pixellmage has the simple operations: getHeight, getWidth, getData, and setData. These are can be used by the filters, for example FlipHorizontalFilter. Each pixel is composed of three components: red, green, and blue. These are fields in the Pixel class. Acceptable values for these components range from 0 to 255 , inclusive. (That is, the Pixel class represents 24 -bit color.) The higher the value, the brighter that component is. // a black Pixel new Pixel( (0,0,0) If a white Pixel new Pixel( 255,255,255) // a red Pixel new Pixel (255,0,0) If a blue Pixel new Pixel( (0,0,255) New filters are added to SnapShop in the SnapShopConfiguration class, by calling the addFilter method of SnapShop. This method takes two parameters, a Filter object which will manipulate the Pixellmage, and a String to display for the filter. Objectives - Work with interfaces. - Manipulate data within an array. - Work within an existing framework. - Evaluate and document your work. Instructions Starting Point Download the starting point code contained in the attached zip file: - SnapShop.java - SnapShopConfiguration.java - Pixellmage.java - Pixel.java - Filter.java - FlipHorizontalFilter.java Compile and run the application to see how it works. The application class is SnapShop. The SnapShop application handles common image file types, including: .jpg, .gif, .png. Review the code for this application. Pay particular attention to the SnapShopConfiguration and FlipHorizontalFilter classes. - SnapShopConfiguration Use this class to control the appearance of the user interface. You can add filters to the Snaphop application, as well as set a default file name. - FlipHorizontalFilter This is an example of the implementation of a simple filter. Simple Transformations There are two simple transformations you shall add to SnapShop: flipping the image vertically and creating a gray-scale image. Flip Vertical Create a new class FlipVerticalFilter. This class shall implement the Filter interface. You can use FlipHorizontalFilter as a model. Make sure that the comments make sense. Add the FlipVerticalFilter to SnapShop. You can do this by removing the comment marker on line 20 of SnapShopConfiguration and adding an appropriate argument to the method call. You can test your implementation at this time. Notes: - Assume that the image is rectangular, that is that all of the rows are the same length. - The flip horizontal and flip vertical transformations are their own inverses. That is, applying either of these filters twice will result in the original image. - You can reload the image in SnapShop by simply clicking the Load button. - For the purposes of testing, keep the files relatively small, say less than 50K. - It is a good idea to give complete filenames. You can use a forward slash for indicating folders, even on Windows. Gray Scale The second simple transform is to convert the picture to gray scale. That means that all three color components (red, green, and blue) shall have the same value after the filter is applied. Let's call this value the gray value. The standard gray scale algorithm sets the gray value to the sum of 30% of the red value, 59% of the green value, and 11% of the blue value. We will call this Gray Scale 1. A commonly used approximation sets the gray value to 11/32 of the red value, 16/32 of the green value, and 5/32 of the blue value. This calculation is used because it is easy to implement using integer arithmetic. We will call this Gray Scale 2. gray =(11 red +16 * green +5 * blue )/32 Both of these transforms can be implemented by directly modifying the array of pixels. Rotational Transformations These are conceptually quite straight-forward, as shown in the test cases below. Rotate Clockwise and Rotate Counter-Clockwise There is a major wrinkle with these two transforms. The implementation of Pixellmage requires that when the setData method is called, the dimensions of the array of Pixels matches the original dimensions of the image. Therefore, these transformations can only be applied to square images. If the Pixel array does not have the same dimensions, the call to setData fails with an IllegalArgumentException. The implementation of these filters needs to deal with the requirement for a square image. If the image is square, the filter should apply the rotational transform. If the image is not square, there is no need to do any processing; the filter can raise IllegalStateException. The SnapShop code is set up to handle this exception displaying a message dialog box, which will display the exception message. Note: One of the extra-credit options is to update the Pixellmage code to allow the rotation of non-square images. In this case, the rotational filters should not throw an IllegalStateException. 33 Transformations The next set of transformations are a bit more complicated. They are: Gaussian, Laplacian, Unsharp Masking, and Edgy. In these transformations, the value of a pixel is calculated using the original pixel and its immediate neighbors. That is, a 33 grid of pixels is used to calculate the value for a pixel. The red, green, and blue values are handled separately; that is, the new red value is calculated from the old red values; the new green value, from the old green values; and the new blue value, from the old blue values. The four transforms compute the new pixel values as a weighted average of the old values. The only difference between these transforms is the weights that are used. When you implement these transforms, consider refactoring rather than having completely separate calculations for each of the transforms. There are a couple ways to do this. Please feel free to discuss the options in the forum. Here are the weights to use for the 33 transformations, with some additional notes. Gaussian 121242121 The weights total 16 . So, after computed the weighted sum, the total must be divided by 16 to bring the value back into the range, 0 - 255 . The effect of this filter is to blur the image. Laplacian 111181111 In this case, the sum of the weights is 0 . There is no need to scale the sum. However, the values must remain within the range, 0 - 255 . So, if the sum is less than 0 , use 0 rather than the calculated value. Similarly, if the sum is greater than 255 , use 255 rather than the calculated value. This transform detects edges and highlights them. Unsharp Masking 1212282121 This transform is created by multiplying the cell value by 32 and subtracting the Gaussian transform. The sum of the weights is 16 , so the weighted sum must be scaled by 16 to bring it into range. As with the Laplacian transform, the scaled values must then be adjusted to insure that they are within the range, 0255. This transform can lessen the blurring in an image. Edgy 111191111 This is the Laplacian transform added to the original pixel. The sum of the weights is 1 , so there is no need for scaling. However, the values must still be checked against the range, 0255, and corrected if needed. Notes: - These transformations are a bit more complicated because the value of each pixel depends on the value of its neighbors. That means that you cannot replace the original value of the pixel before its value is used to calculate the new value for all of its neighbors. The simplest solution is to use two separate pixels arrays. - As a simplification for the 33 transformations, only update the interior pixels. You will need to provide values for the pixels around the edges; copy those values from the original image. - An example of applying these 33 transformations is available under Lesson 2HW example Step by Step Solution
There are 3 Steps involved in it
1 Expert Approved Answer
Step: 1 Unlock

Question Has Been Solved by an Expert!
Get step-by-step solutions from verified subject matter experts
Step: 2 Unlock
Step: 3 Unlock